
Dockerise, Deploy, Update Code, Repeat
 At SuprNation we have been using Docker for quite a while now. Docker has been an amazing tool in our arsenal - it has enabled us to package and deploy microservices without having to worry about inconsistencies (library, servers, OS) between live, staging and dev environments. In this post we will create a simple Java/Spring application, container-ise it using Docker, and deploy it on Google Cloud Platform using Kubernetes.
Setting things up
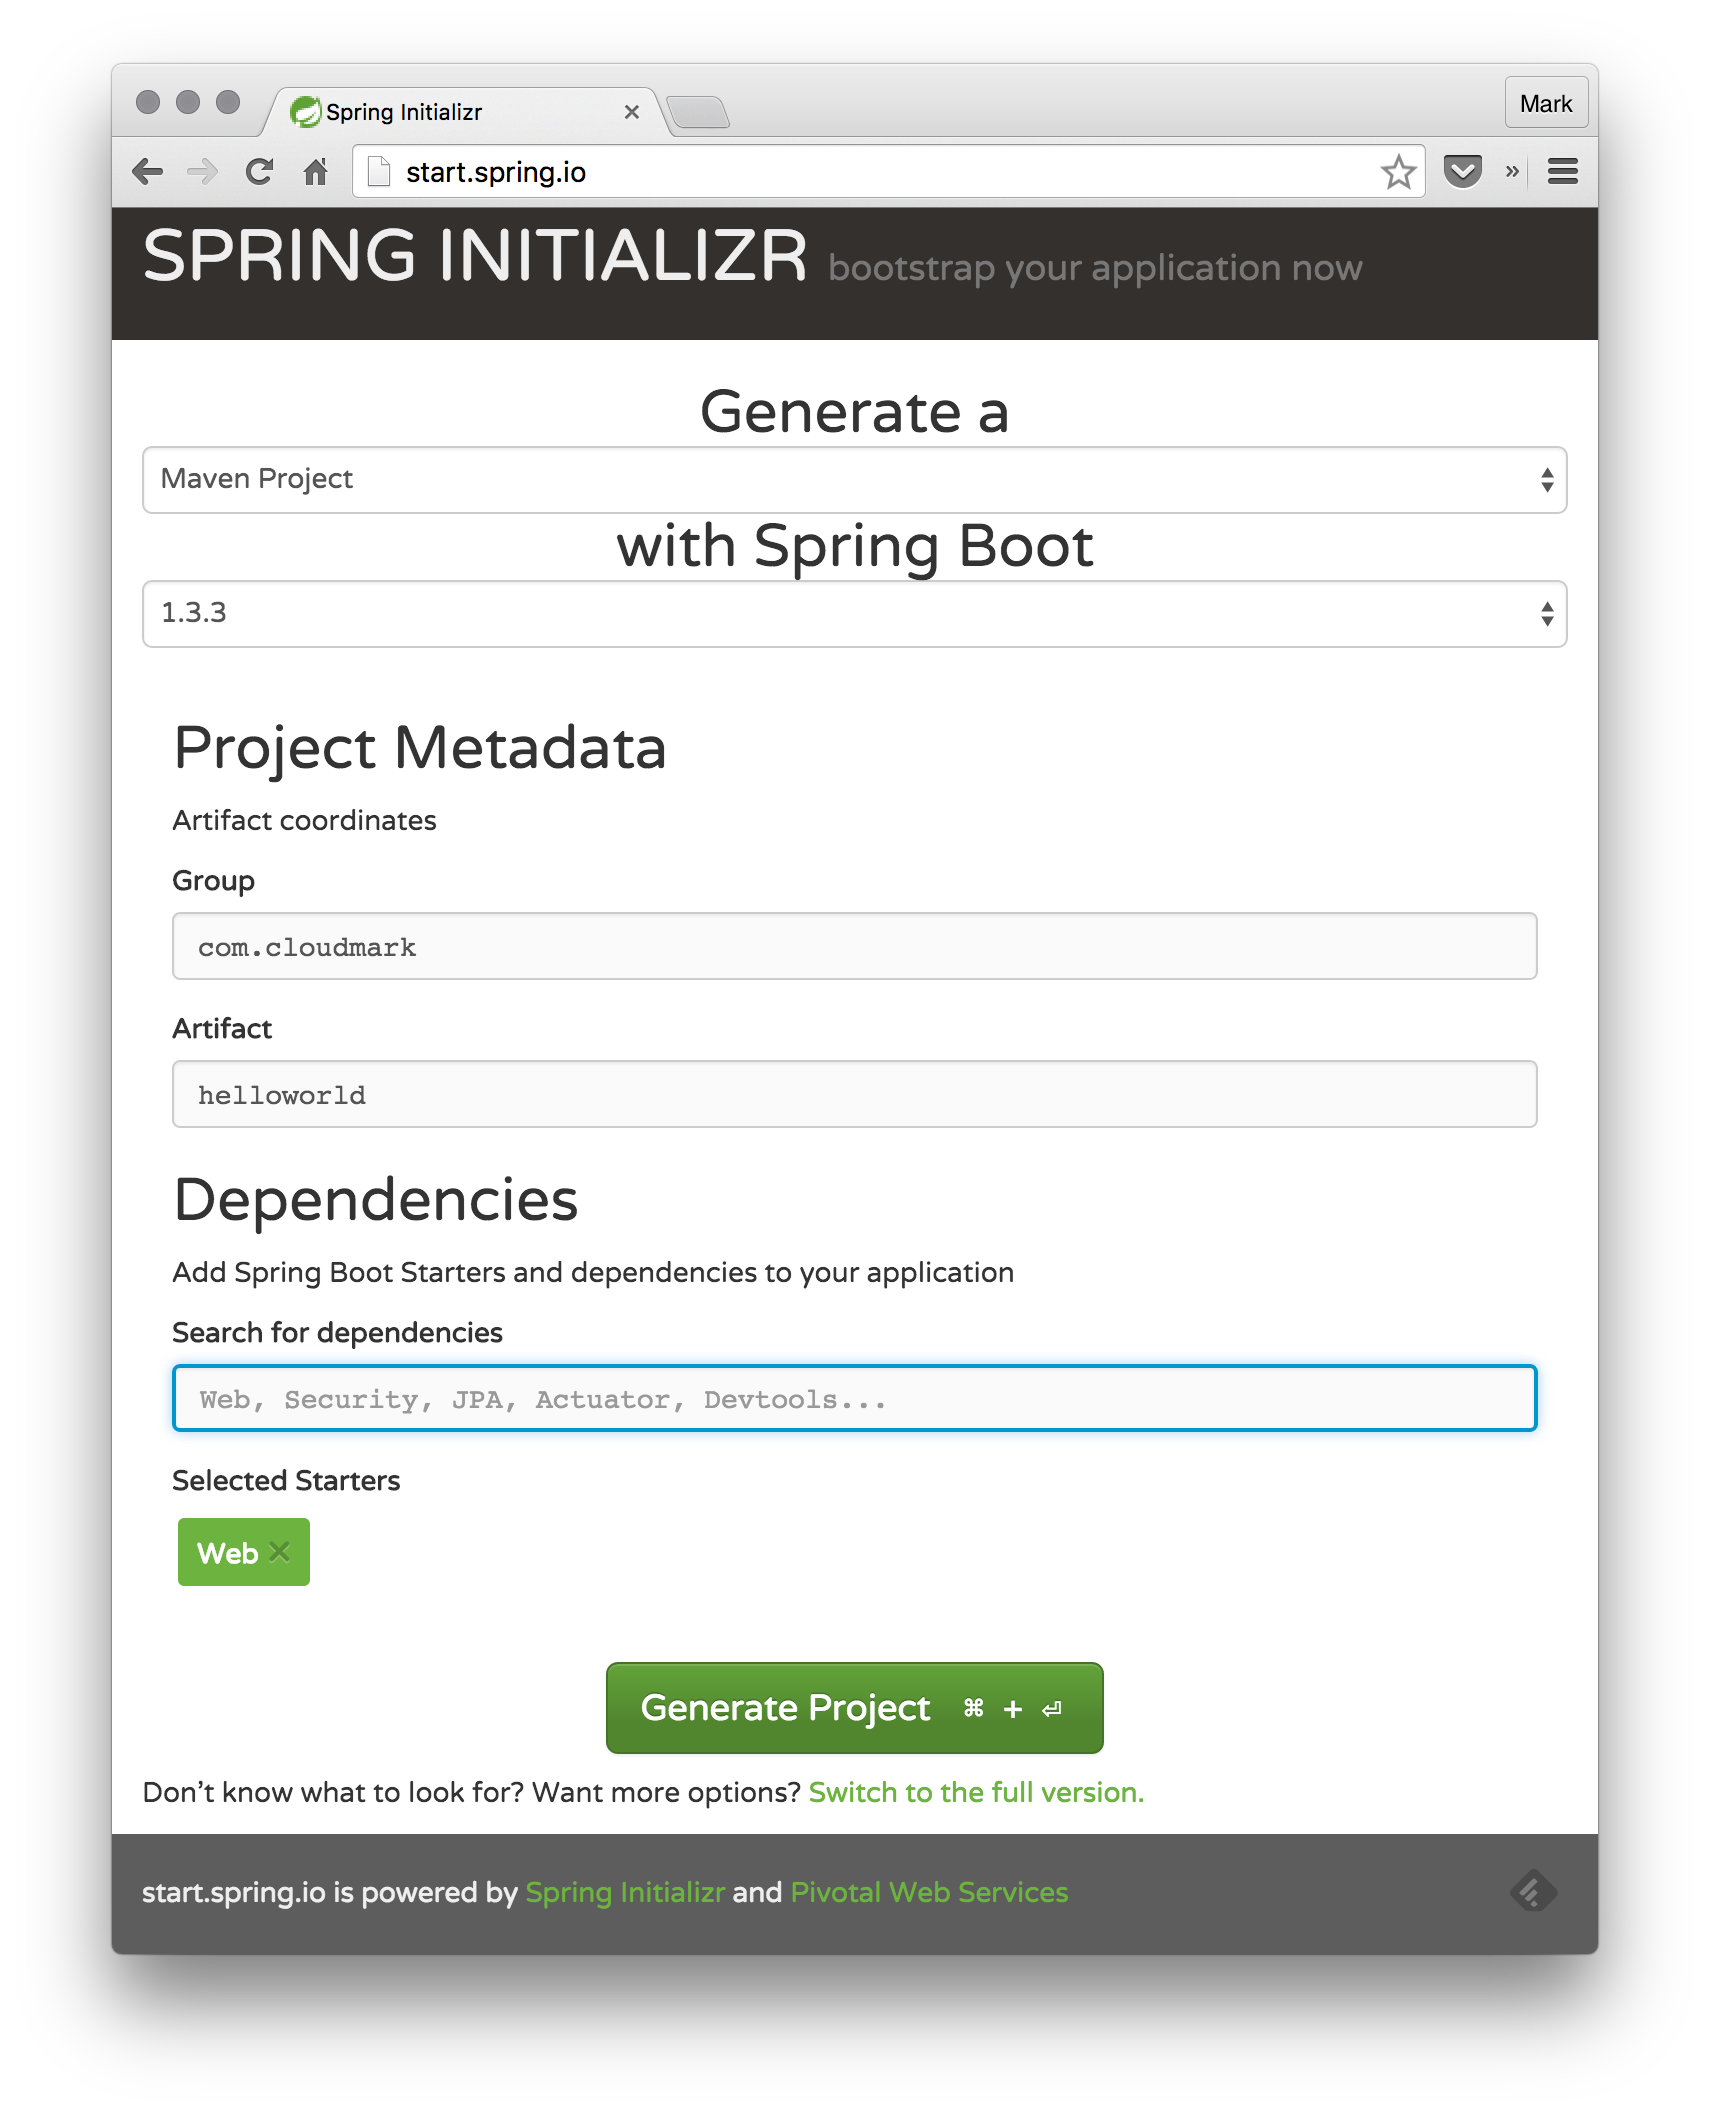
We will start our adventure into the Docker/Kubernetes world by creating a simple Hello World application in Java. We shall bootstrap our application using the Spring Initializr project. So let’s head over to the Spring Initializr site, type in a Group and an Artifact name and hit the Generate Project button.
Now extract the <artifact>.zip and update the HelloWorldApplication.java as follows:
package com.cloudmark;

import org.springframework.boot.*;
import org.springframework.boot.autoconfigure.*;
import org.springframework.stereotype.*;
import org.springframework.web.bind.annotation.*;

@Controller
@EnableAutoConfiguration
public class HelloworldApplication {

    @RequestMapping("/")
    @ResponseBody
    String home() {
        return "Hello World!";
    }

    public static void main(String[] args) throws Exception {
        SpringApplication.run(HelloworldApplication.class, args);
    }
}
It is now time to build our application! From your terminal go to the location where you have extracted the zip file and type in the following commands:
cd hello-world
mvn clean install
To run the application execute the following commands:
cd target
java -jar helloworld-0.0.1-SNAPSHOT.jar
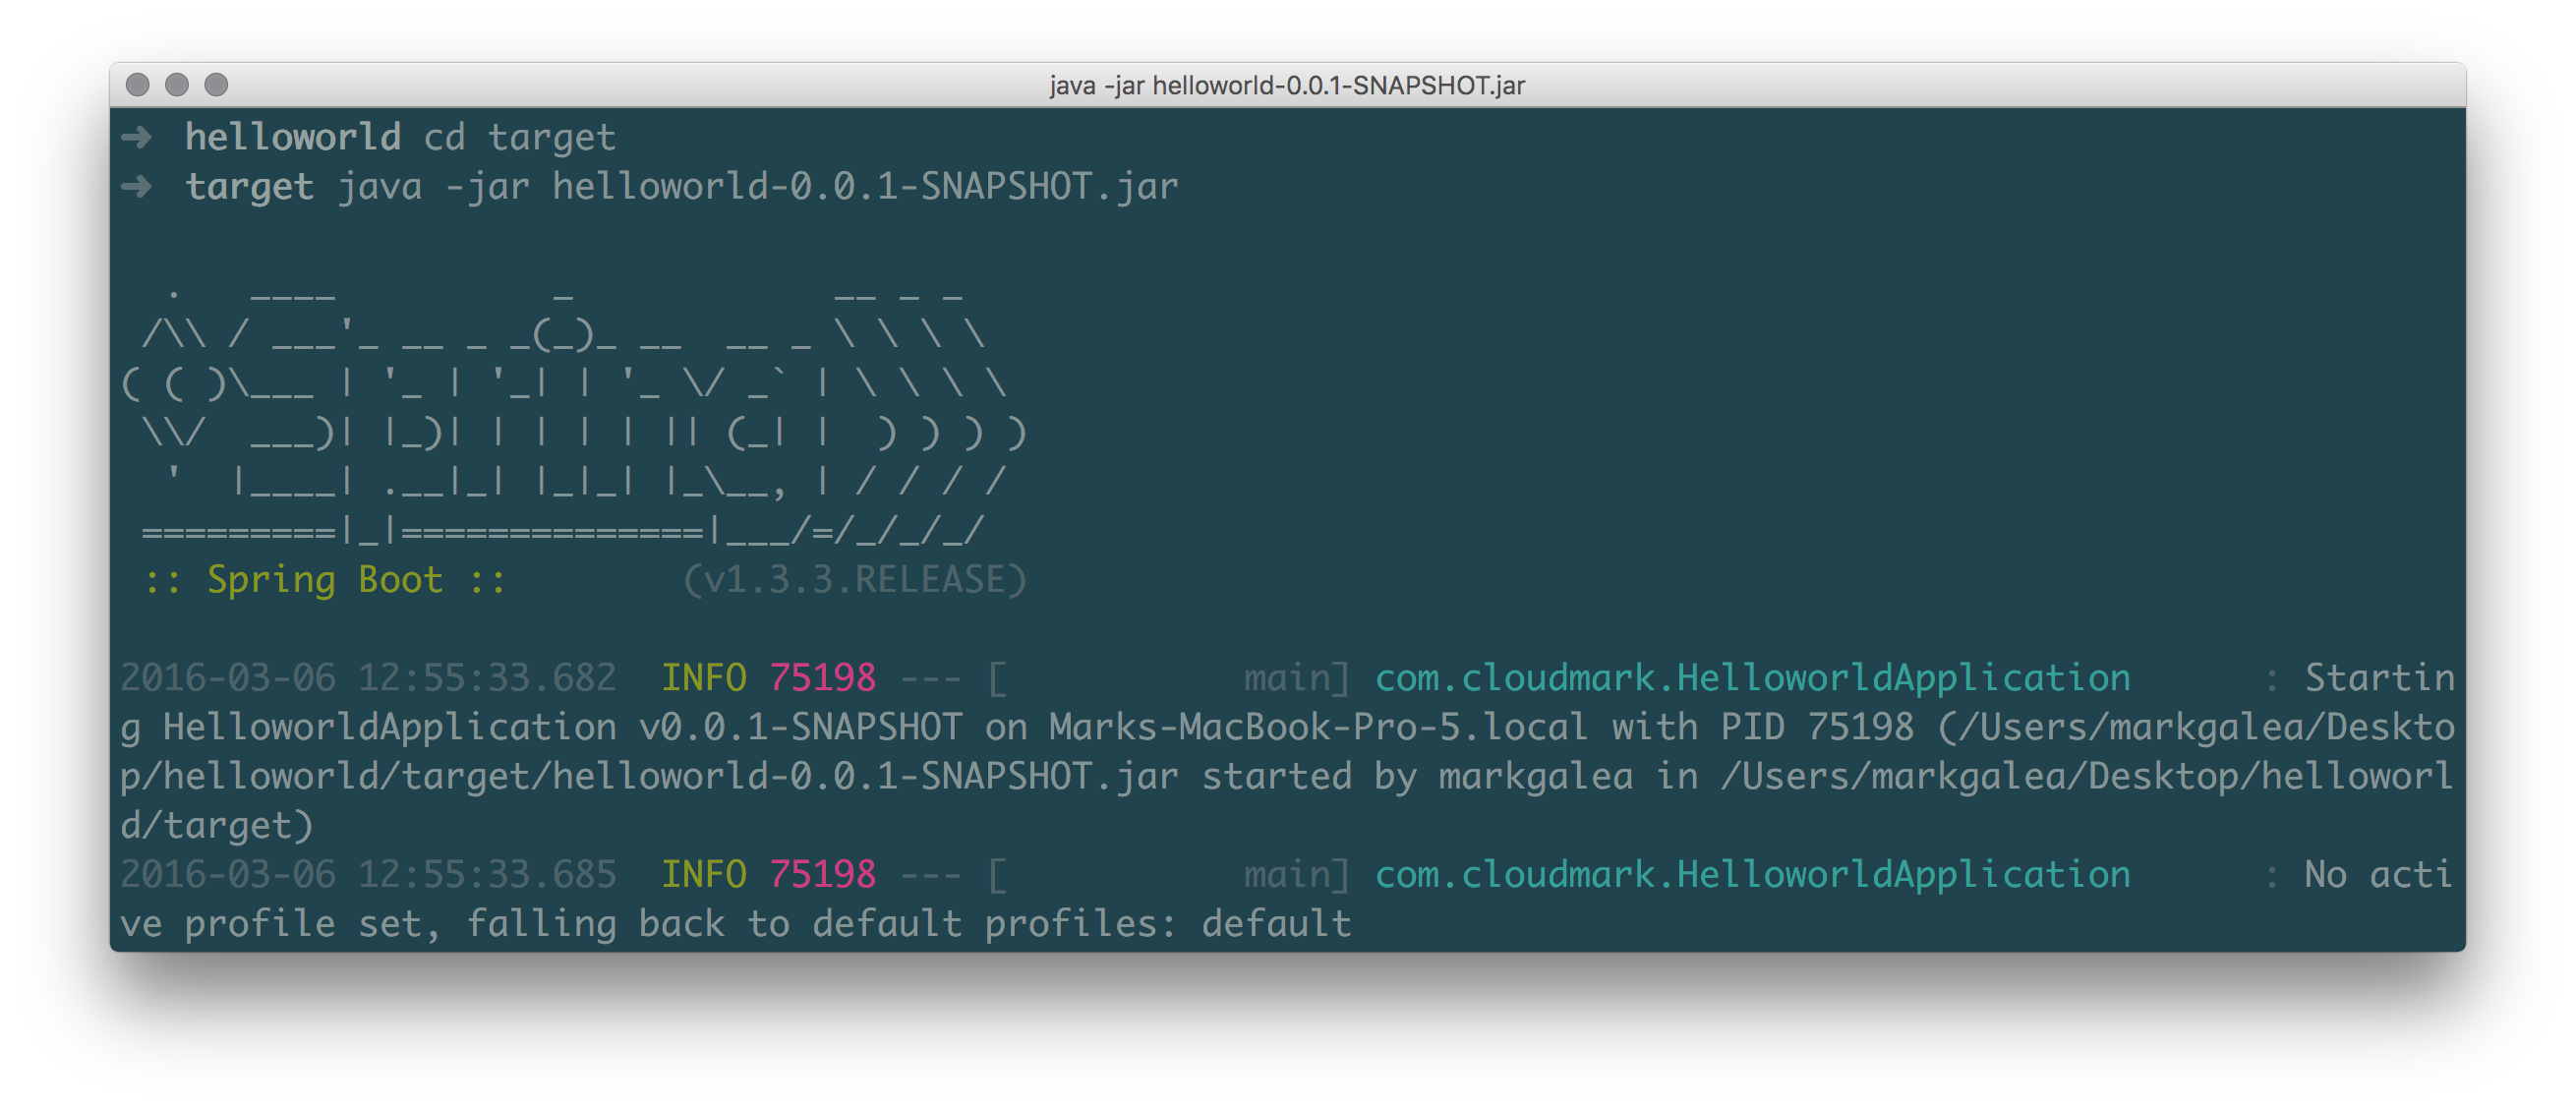
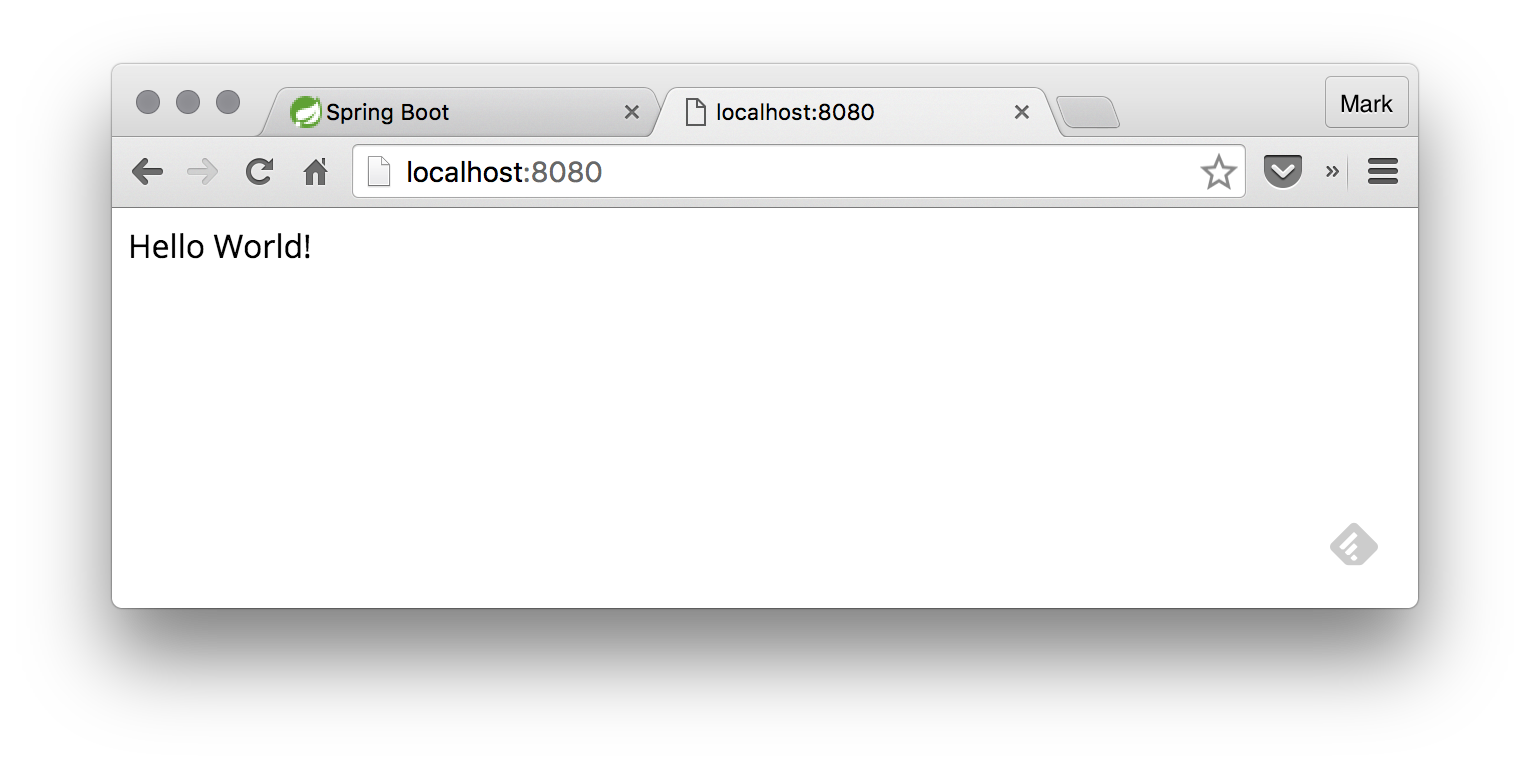
Now, fire up your favourite browser and navigate to http://localhost:8080/. You should see a seriously uninteresting Hello World! message.
Dockerising our Application
Having created our simple application, we will now Docker-ise it by creating a Dockerfile. A Dockerfile is a text document that contains instructions/commands which a user can execute in a terminal to assemble an image. Docker can automate this process by reading through the Dockerfile and create an image automatically. For a complete reference on Dockerfile you can have a look over here.
In the hello-world folder create an empty Dockerfile text file and add the following:
FROM jeanblanchard/busybox-java
MAINTAINER mark@cloudmark.com

RUN mkdir -p /opt/hello-world
ADD target/helloworld-0.0.1-SNAPSHOT.jar /opt/hello-world

ENTRYPOINT java -jar /opt/hello-world/helloworld-0.0.1-SNAPSHOT.jar
EXPOSE 8080
If you are planning on packaging your application as a war file, you can make use of the following Dockerfile instead:
FROM jeanblanchard/busybox-tomcat
MAINTAINER mark@cloudmark.com

RUN rm -rf /opt/apache-tomcat-8.0.23/webapps/*
ADD target/helloworld-0.0.1-SNAPSHOT.war /opt/apache-tomcat-8.0.23/webapps/ROOT.war
EXPOSE 8080
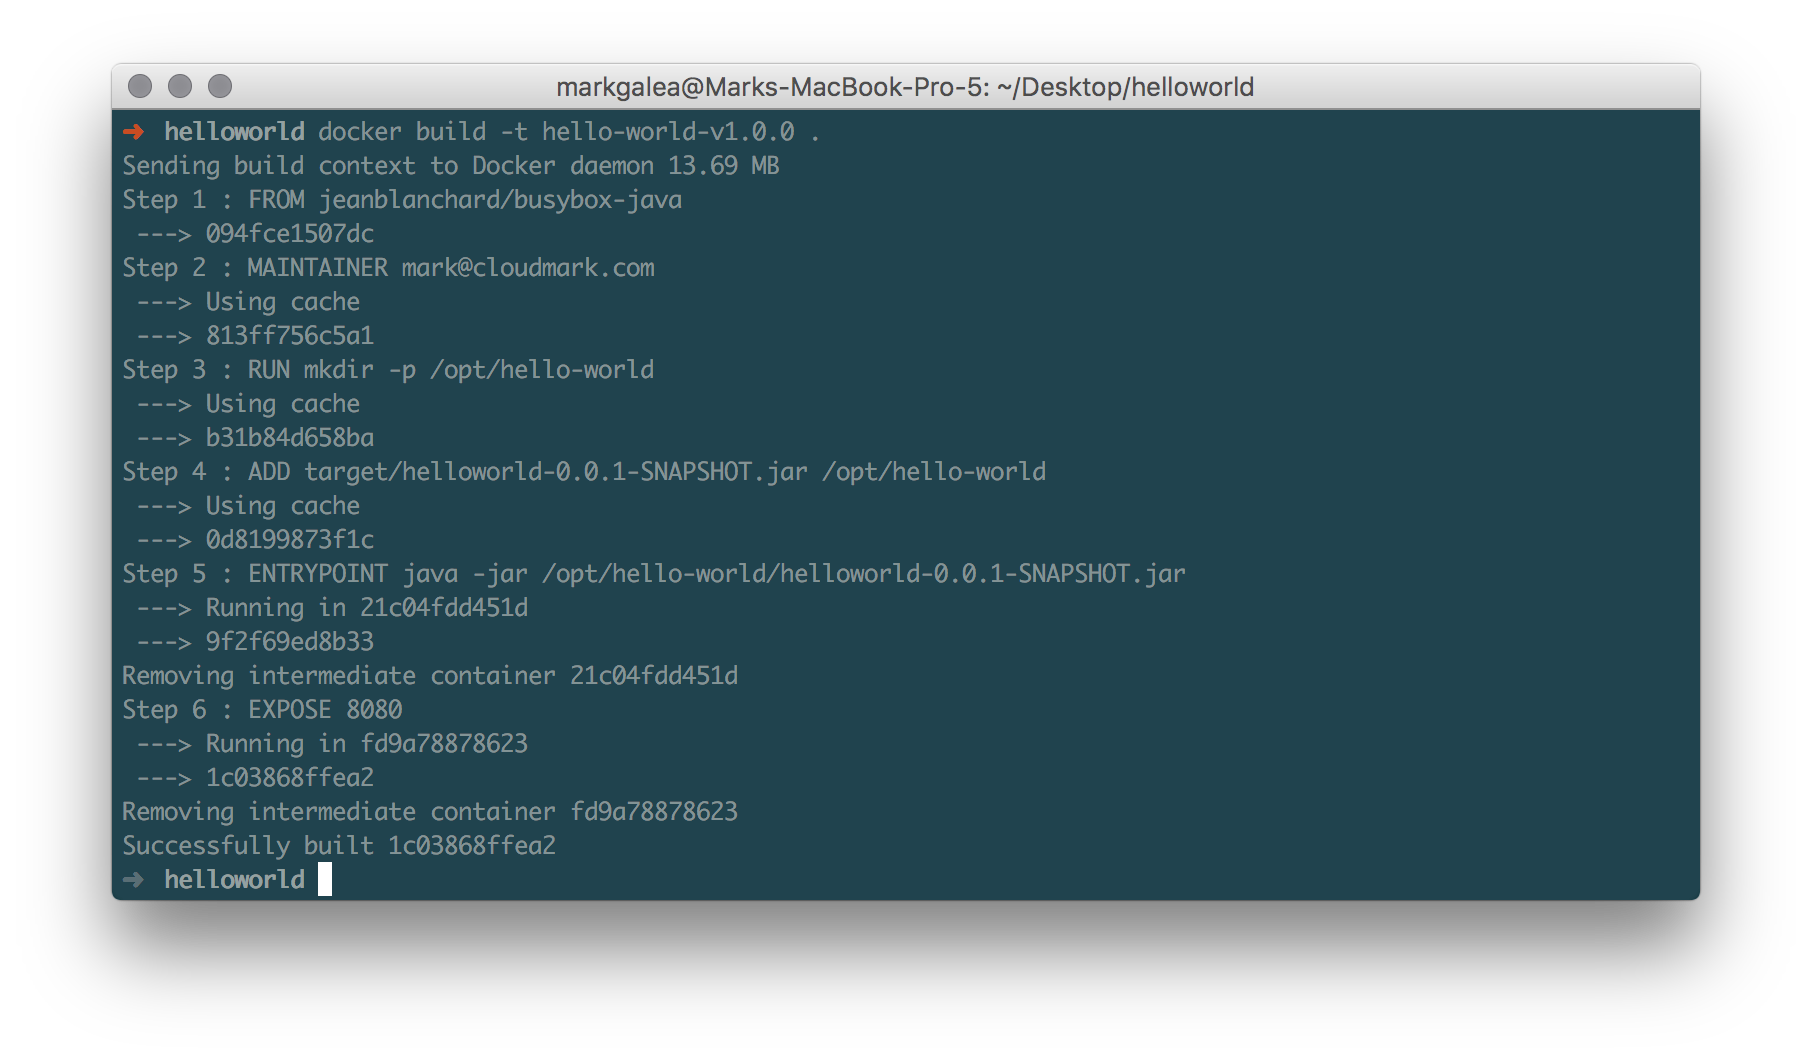
Having the Dockerfile in place, we can now build the Docker image using the following command:
docker build -t hello-world-v1.0.0 .
Your output should be similar to the following:
To get a list of Docker images present within our system we can run the following:
docker images
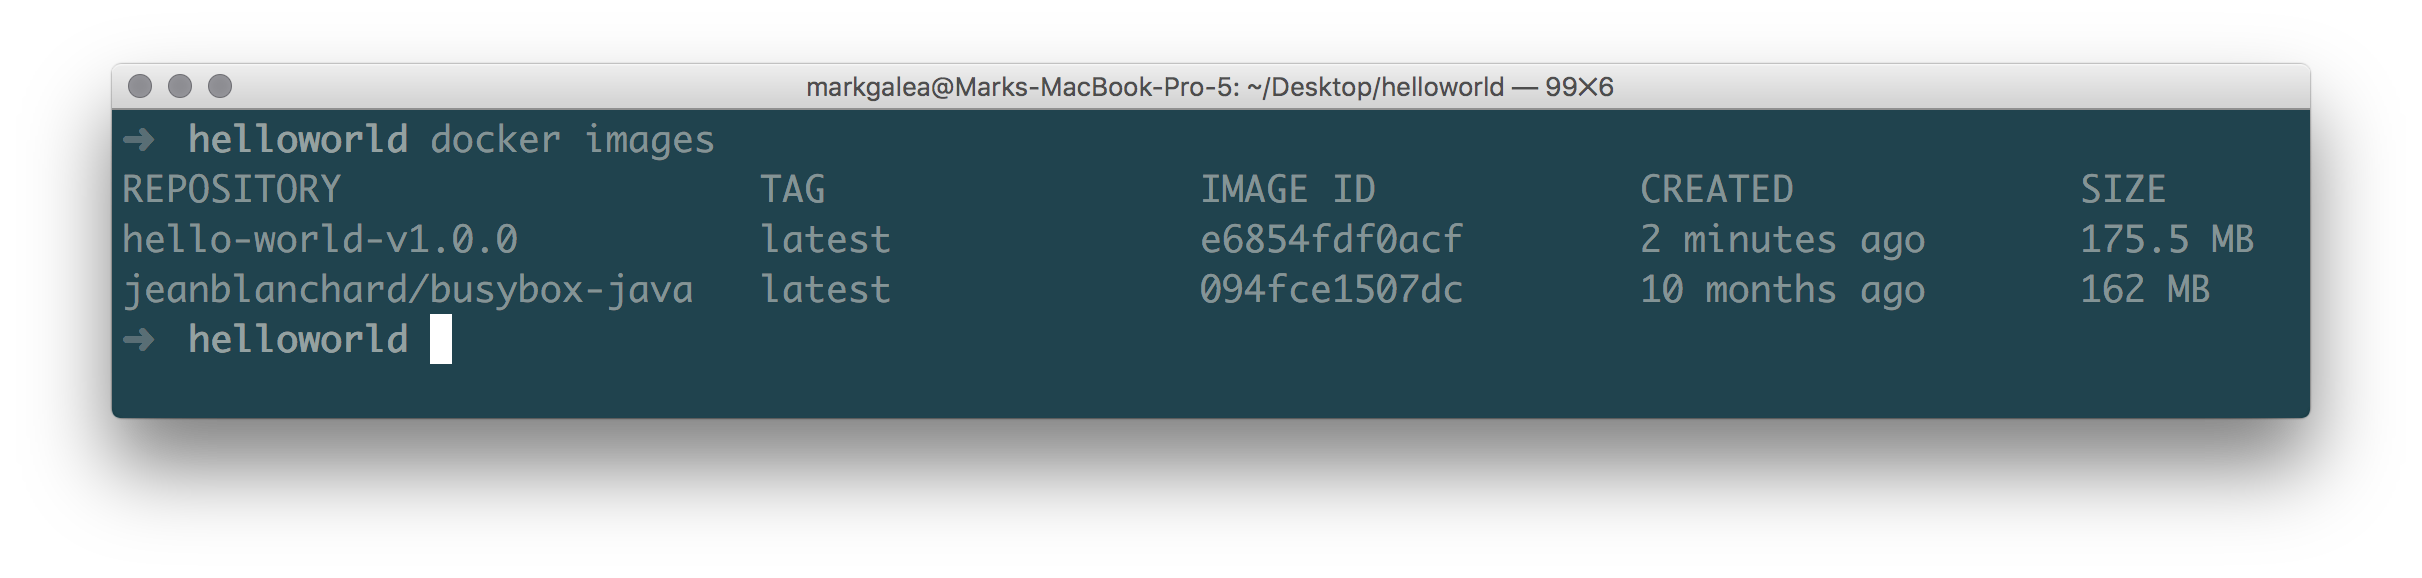
Right now we have two docker images: our application hello-world-v1.0.0 and the base image jeanblanchard/busybox-java. To run our Docker-ised image locally we can use the following command:
docker run -P hello-world-v1.0.0
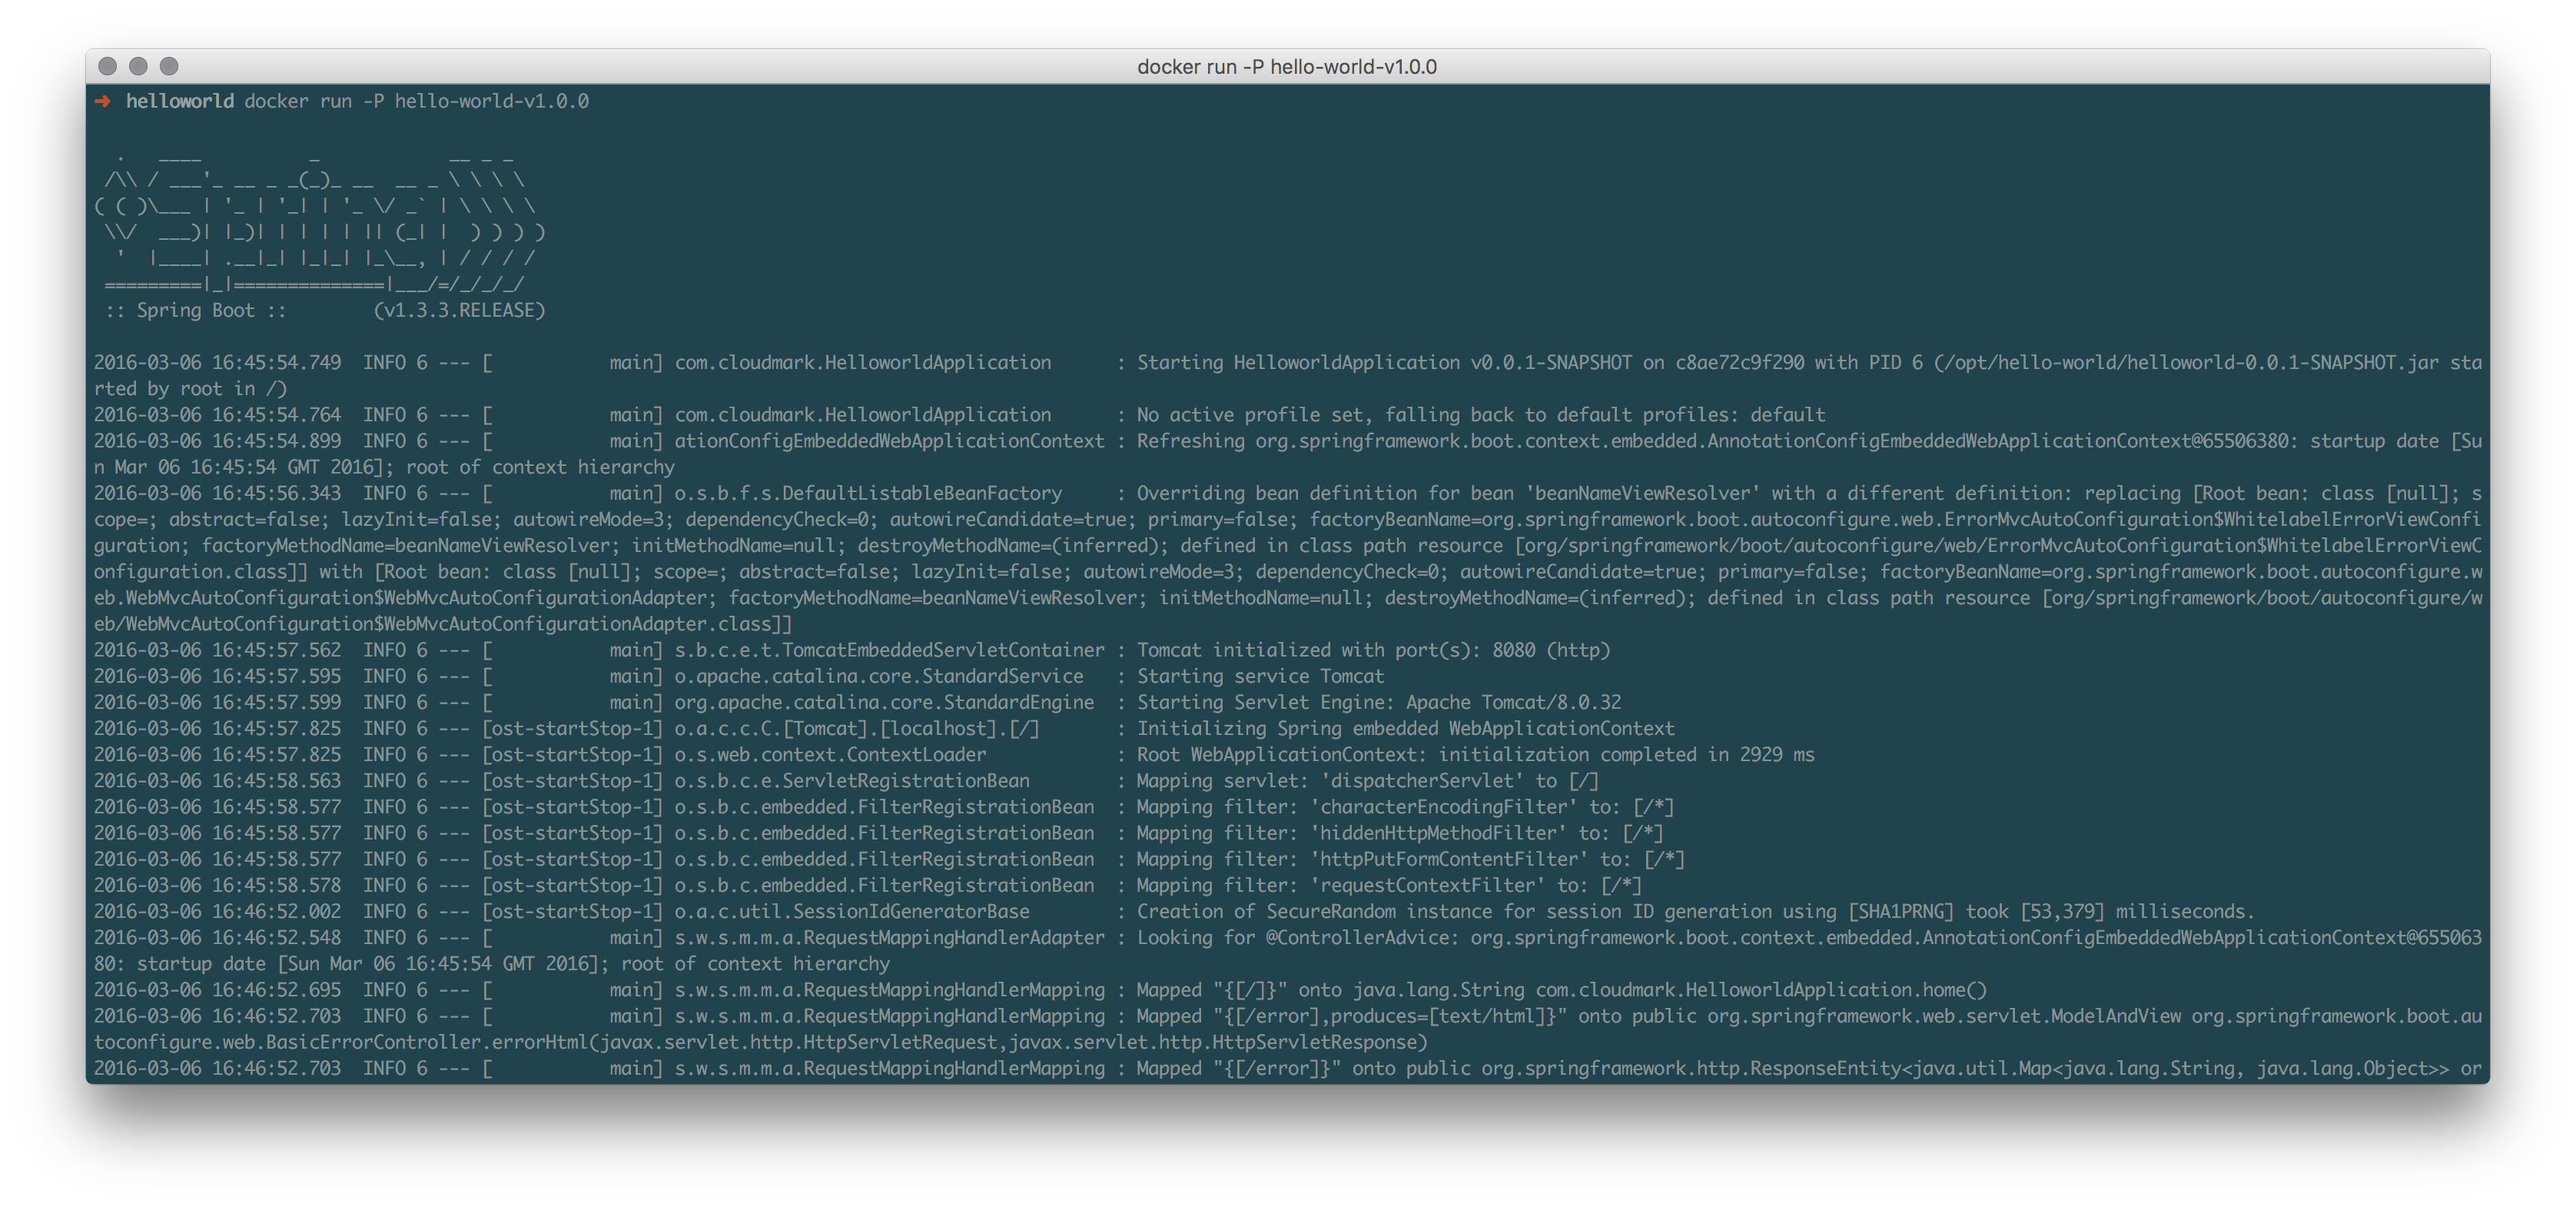
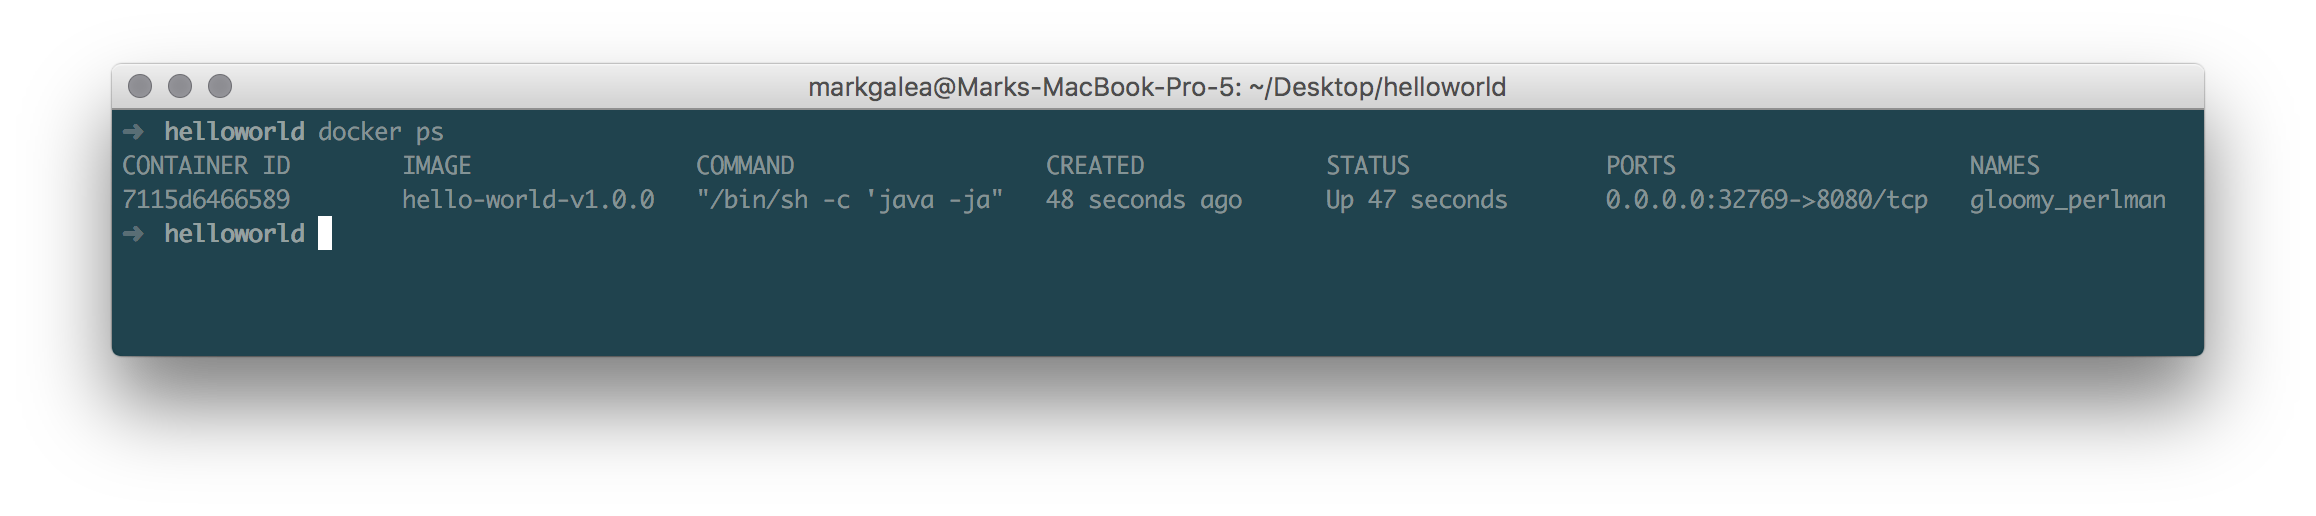
The -P flag exposes all published ports - in our case port 8080 - on the host machine. Besides refreshing the browser, you can verify that the application is working using the following command:
docker ps
Setting Up Google Container Engine
Having Docker-ised our application and tested that it works in a dev environment (our local machines) let us now deploy on our live environment. For our live setup we are going to use Google Cloud Platform (GCP), specifically the Container Engine product within this ecosystem. To get started create an account with GCP - there is a $300 credit which will be more than enough to complete this exercise together.
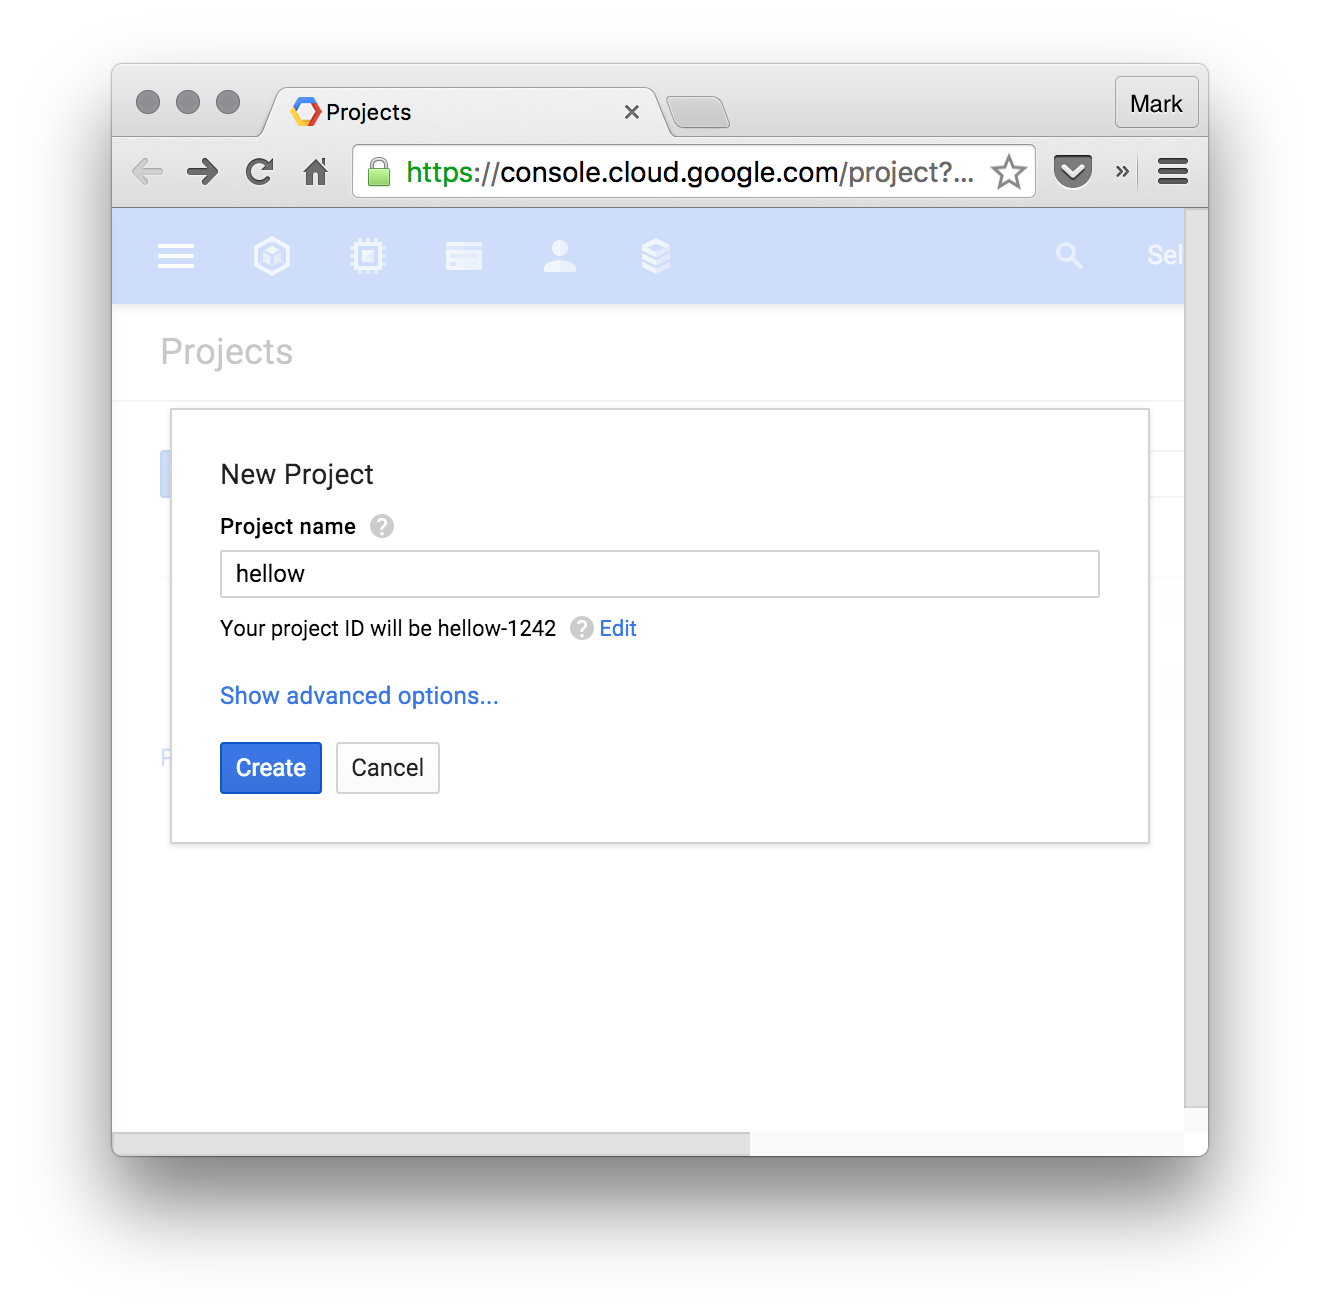
After signup create a project - in our case we are going to create a helloworld project.
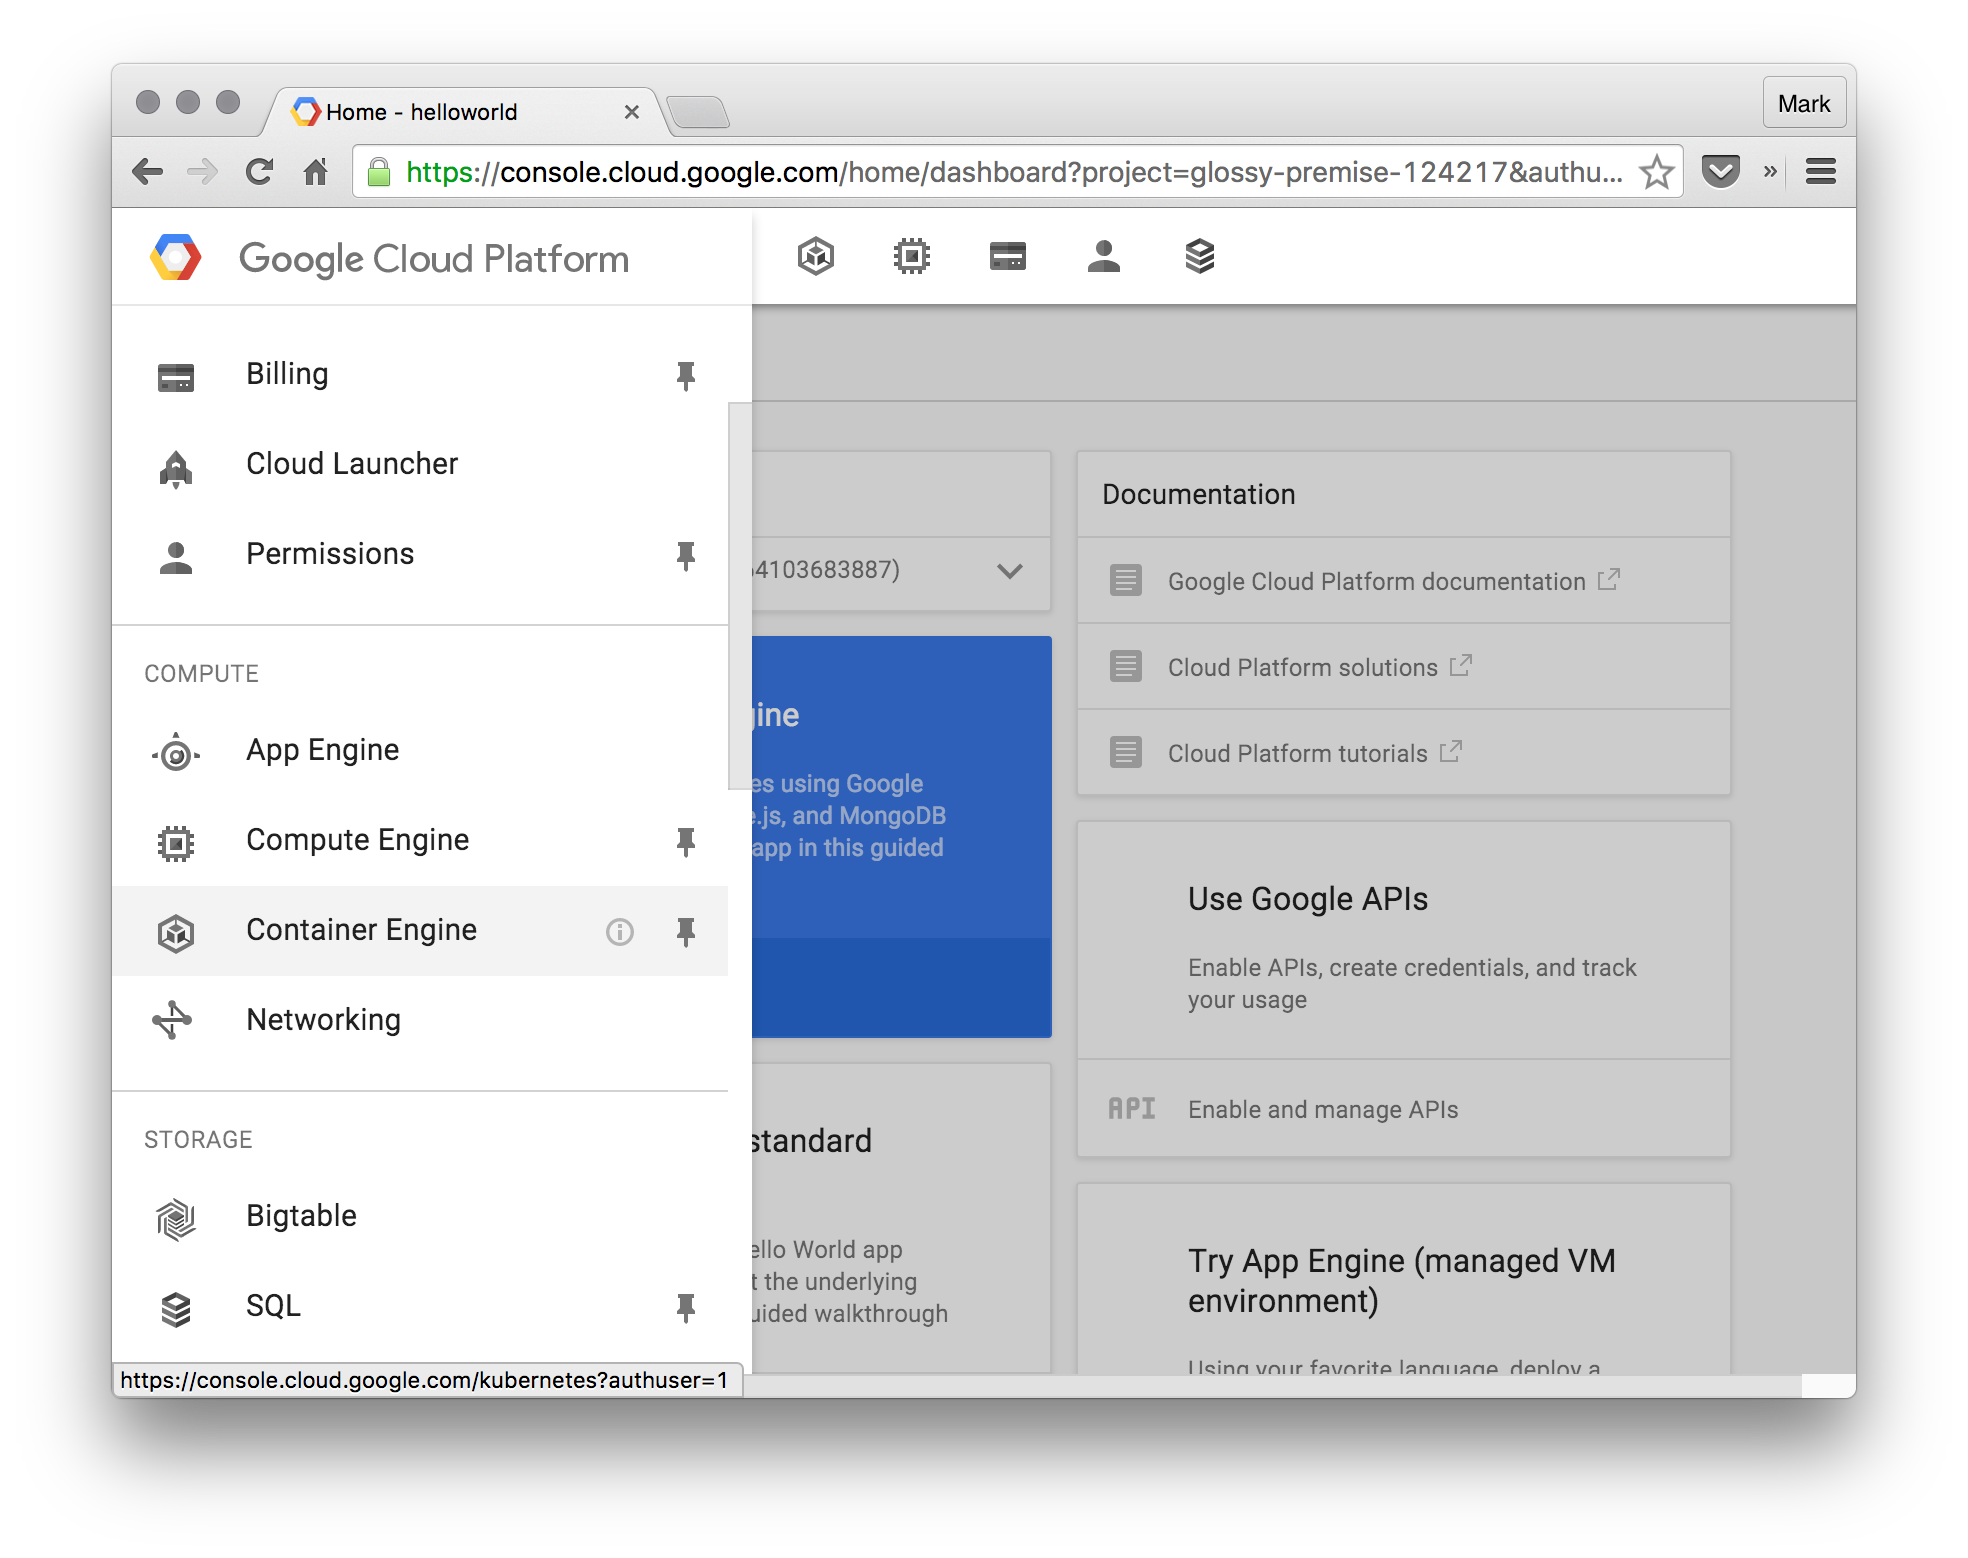
Next step we need to create the Kubernetes cluster:
- Click on the hamburger icon,
- Select Container Engine and
- Click on Create a container cluster. We will name this
kubernetes-cluster. Note this down because we will use it later on.
The container cluster is essentially a Kubernetes cluster on which we can orchestrate and run Docker containers.
For this exercise we will create a simple one machine cluster as follows:
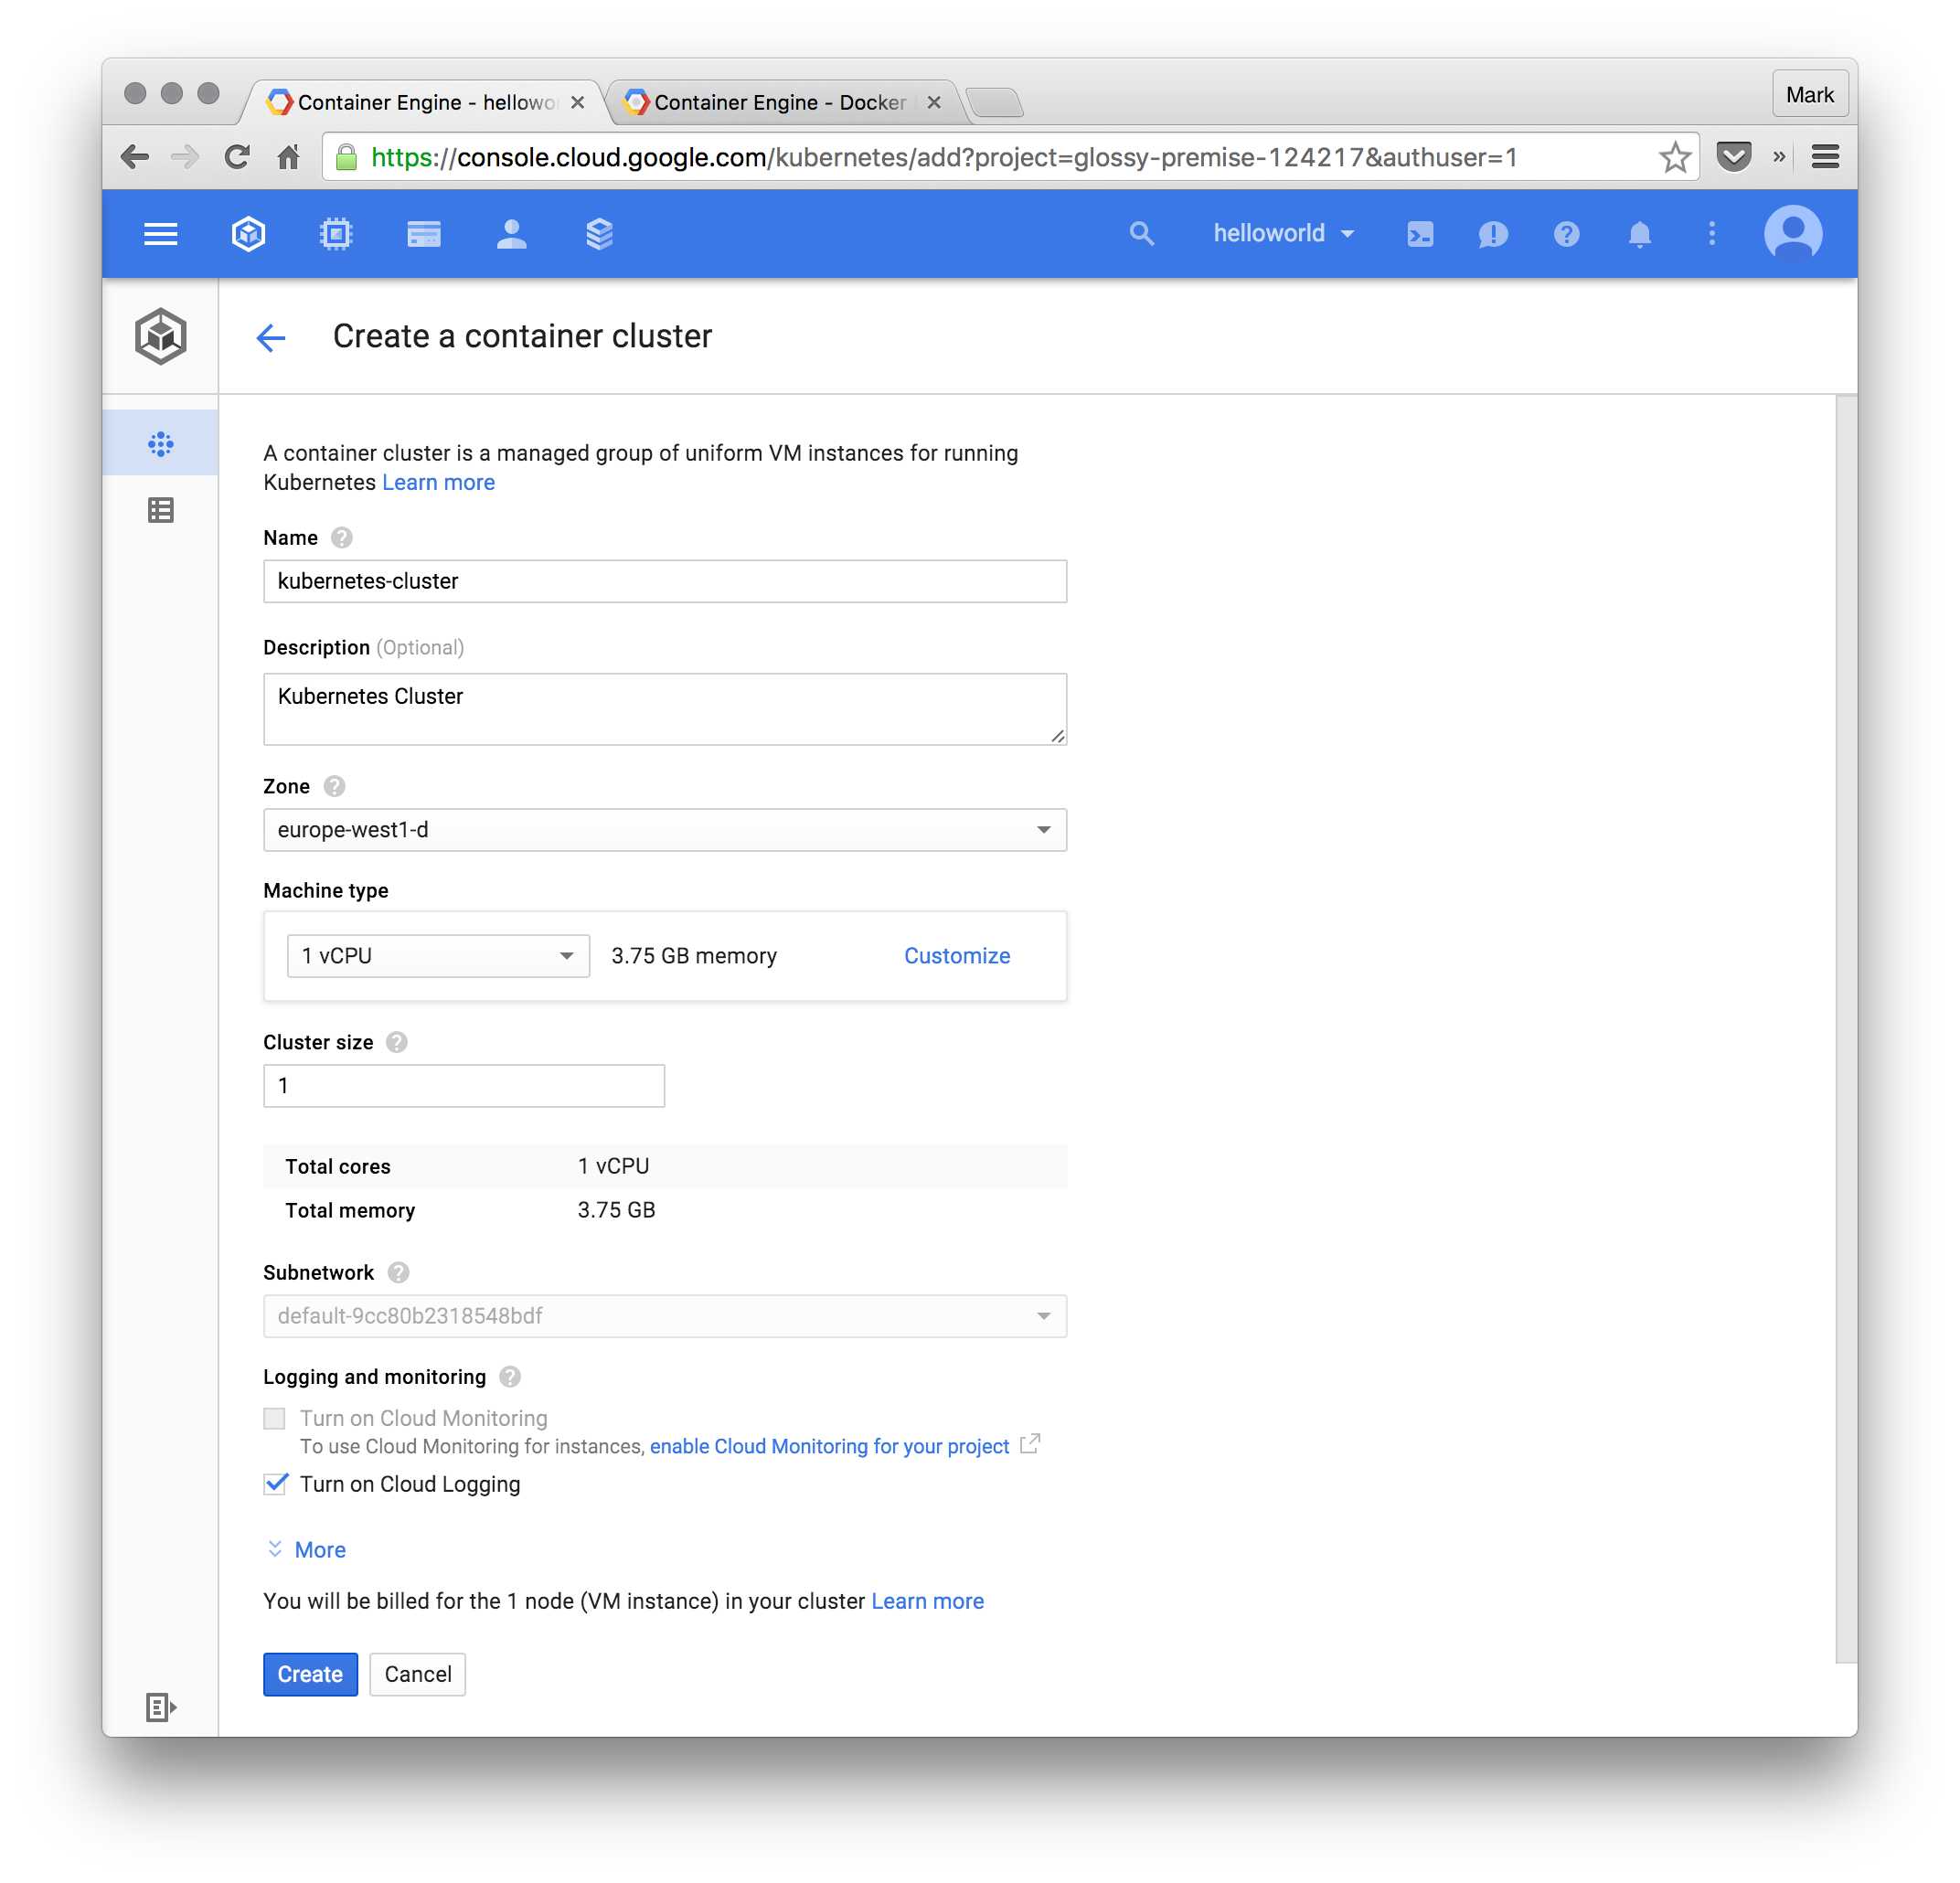
Besides creating the Kubernetes cluster to run and orchestrate our Docker images, the following step also sets up a private Docker Repository where we can push our Docker images which we want to deploy.
Preparing for the Push
First thing we need to do is to download and set up the Google Cloud SDK. On OSX we can use the following commands:
$ curl https://sdk.cloud.google.com | bash
$ exec -l $SHELL
$ gcloud init
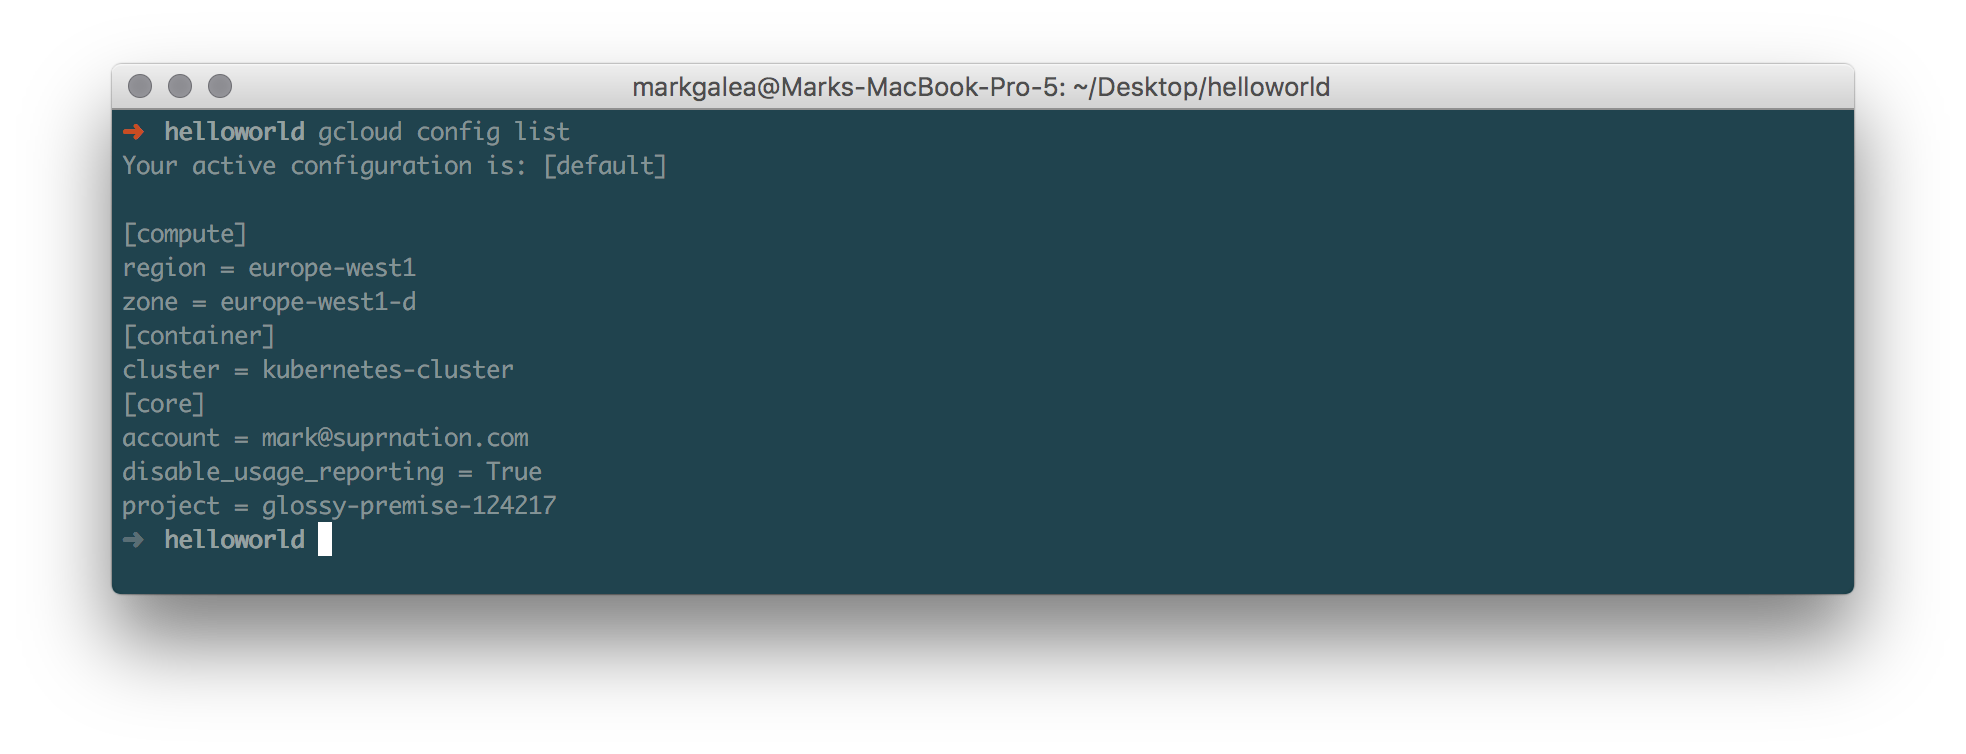
After completing the wizard you can see all your configuration by executing:
gcloud config list
This will give you a summary of your current configuration. From this, note down the project name - in my case glossy-premise-124217. We will make use of this later on in order to push to our own private repository.
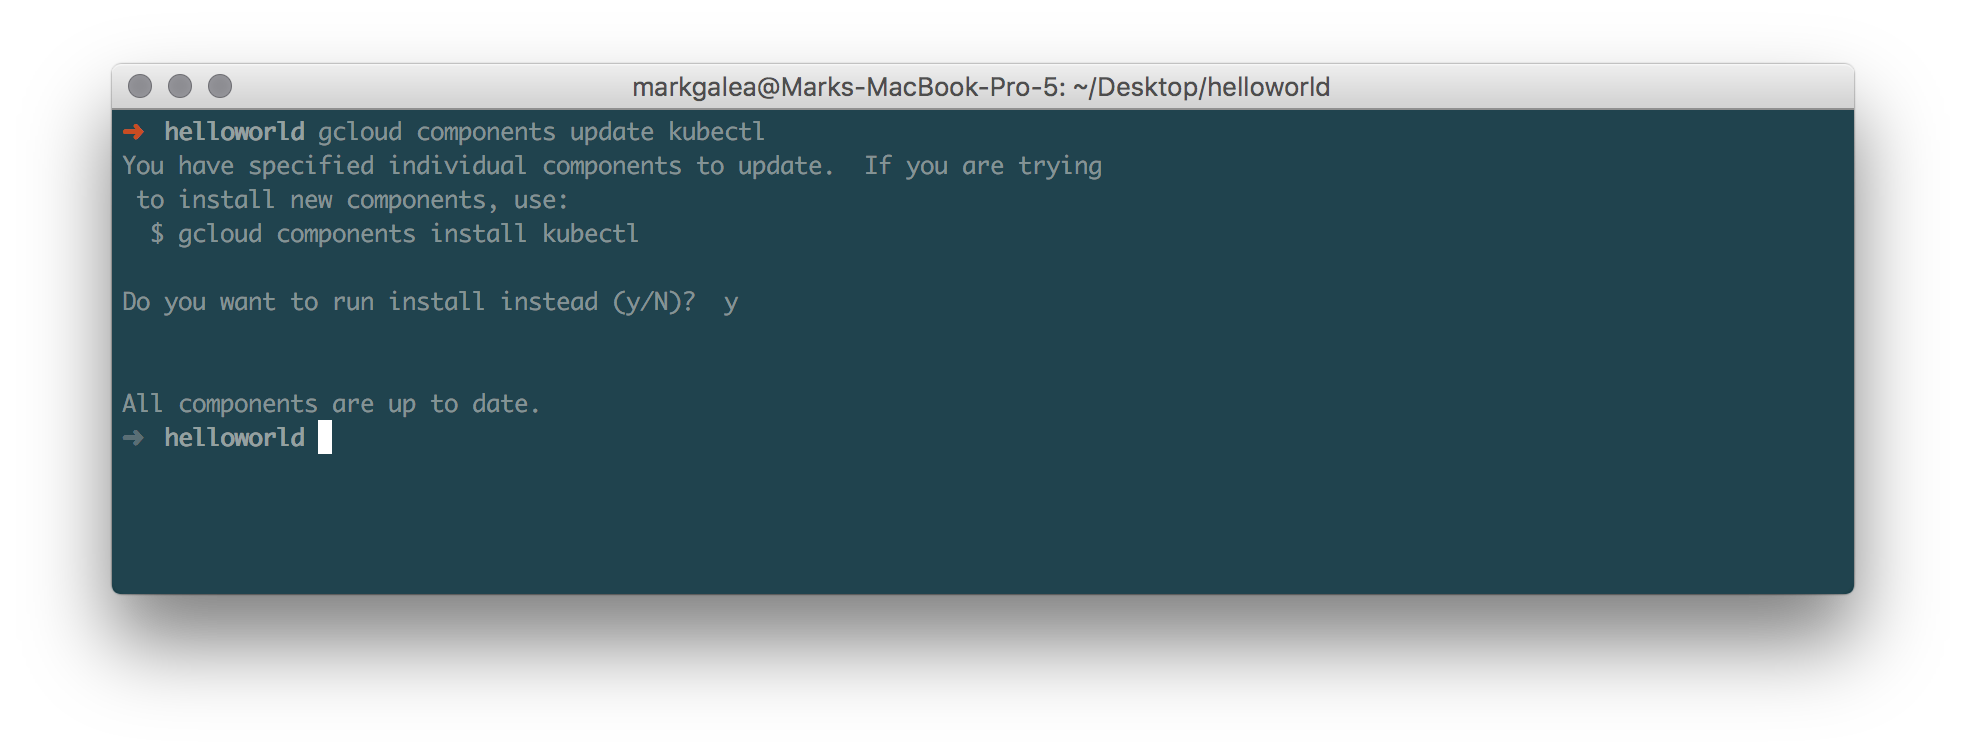
To enable cluster management from the command line we need to install the kubectl tool using the following command:
gcloud components update kubectl
For a complete overview of what these commands do you can read this documentation.
Next we setup the kubernetes-cluster as our default cluster using:
gcloud config set container/cluster kubernetes-cluster
and download the credentials so that we can manage this cluster:
gcloud container clusters get-credentials kubernetes-cluster
Pushing to the Remote Private Docker Repository
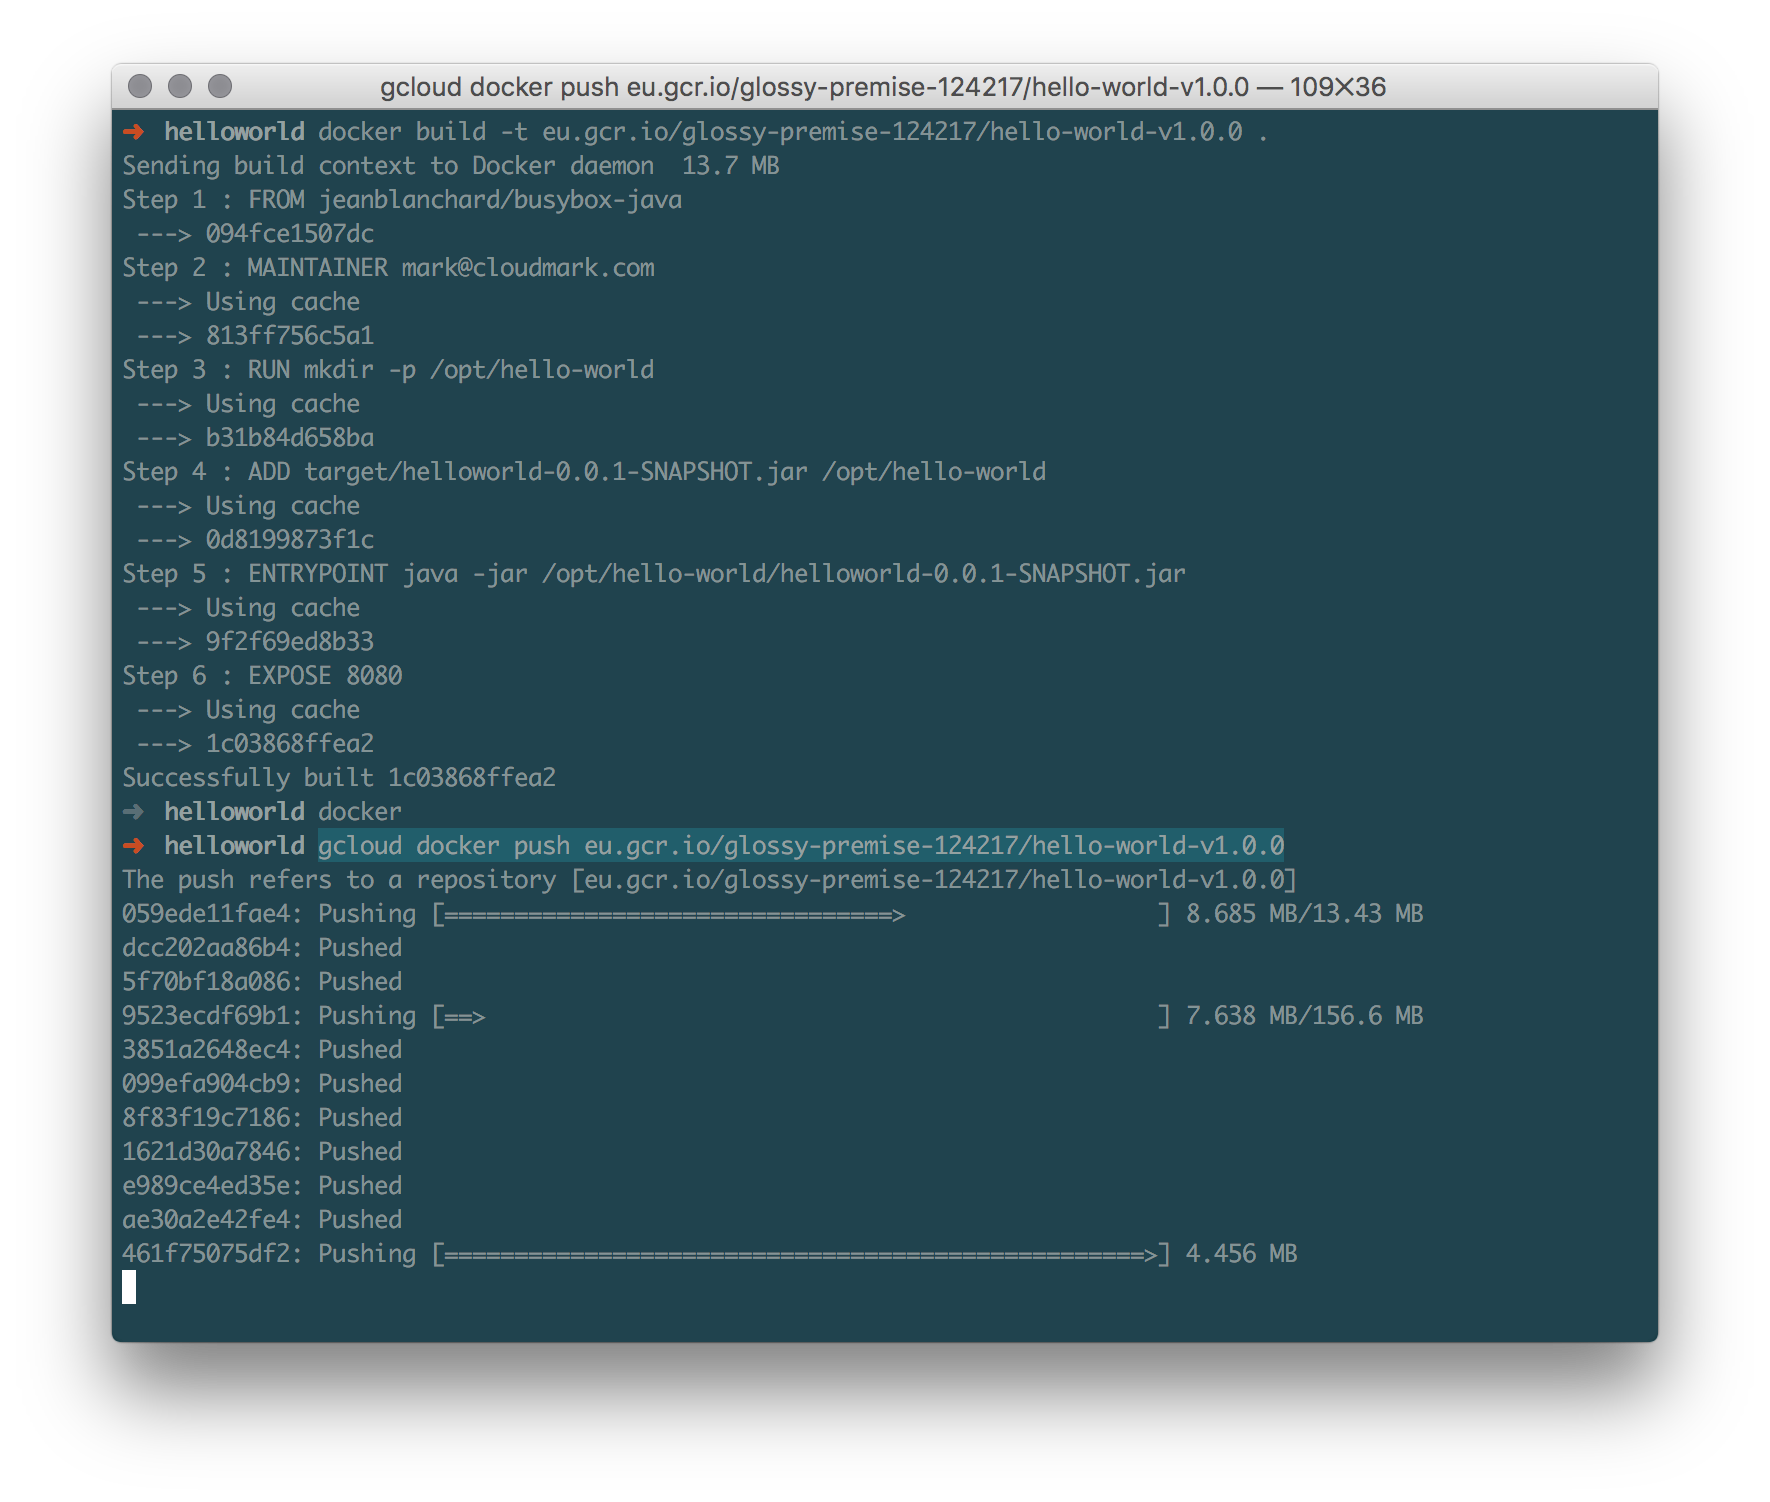
The hard work is over. Now let us deploy our application. First thing we need to do is to push the hello-world-v1.0.0 image to our private repository. Note that each compute cluster will come with its own private repository. Pretty neat! To push the image to the remote repository run the following commands:
docker build -t eu.gcr.io/glossy-premise-124217/hello-world-v1.0.0 .
gcloud docker push eu.gcr.io/glossy-premise-124217/hello-world-v1.0.0
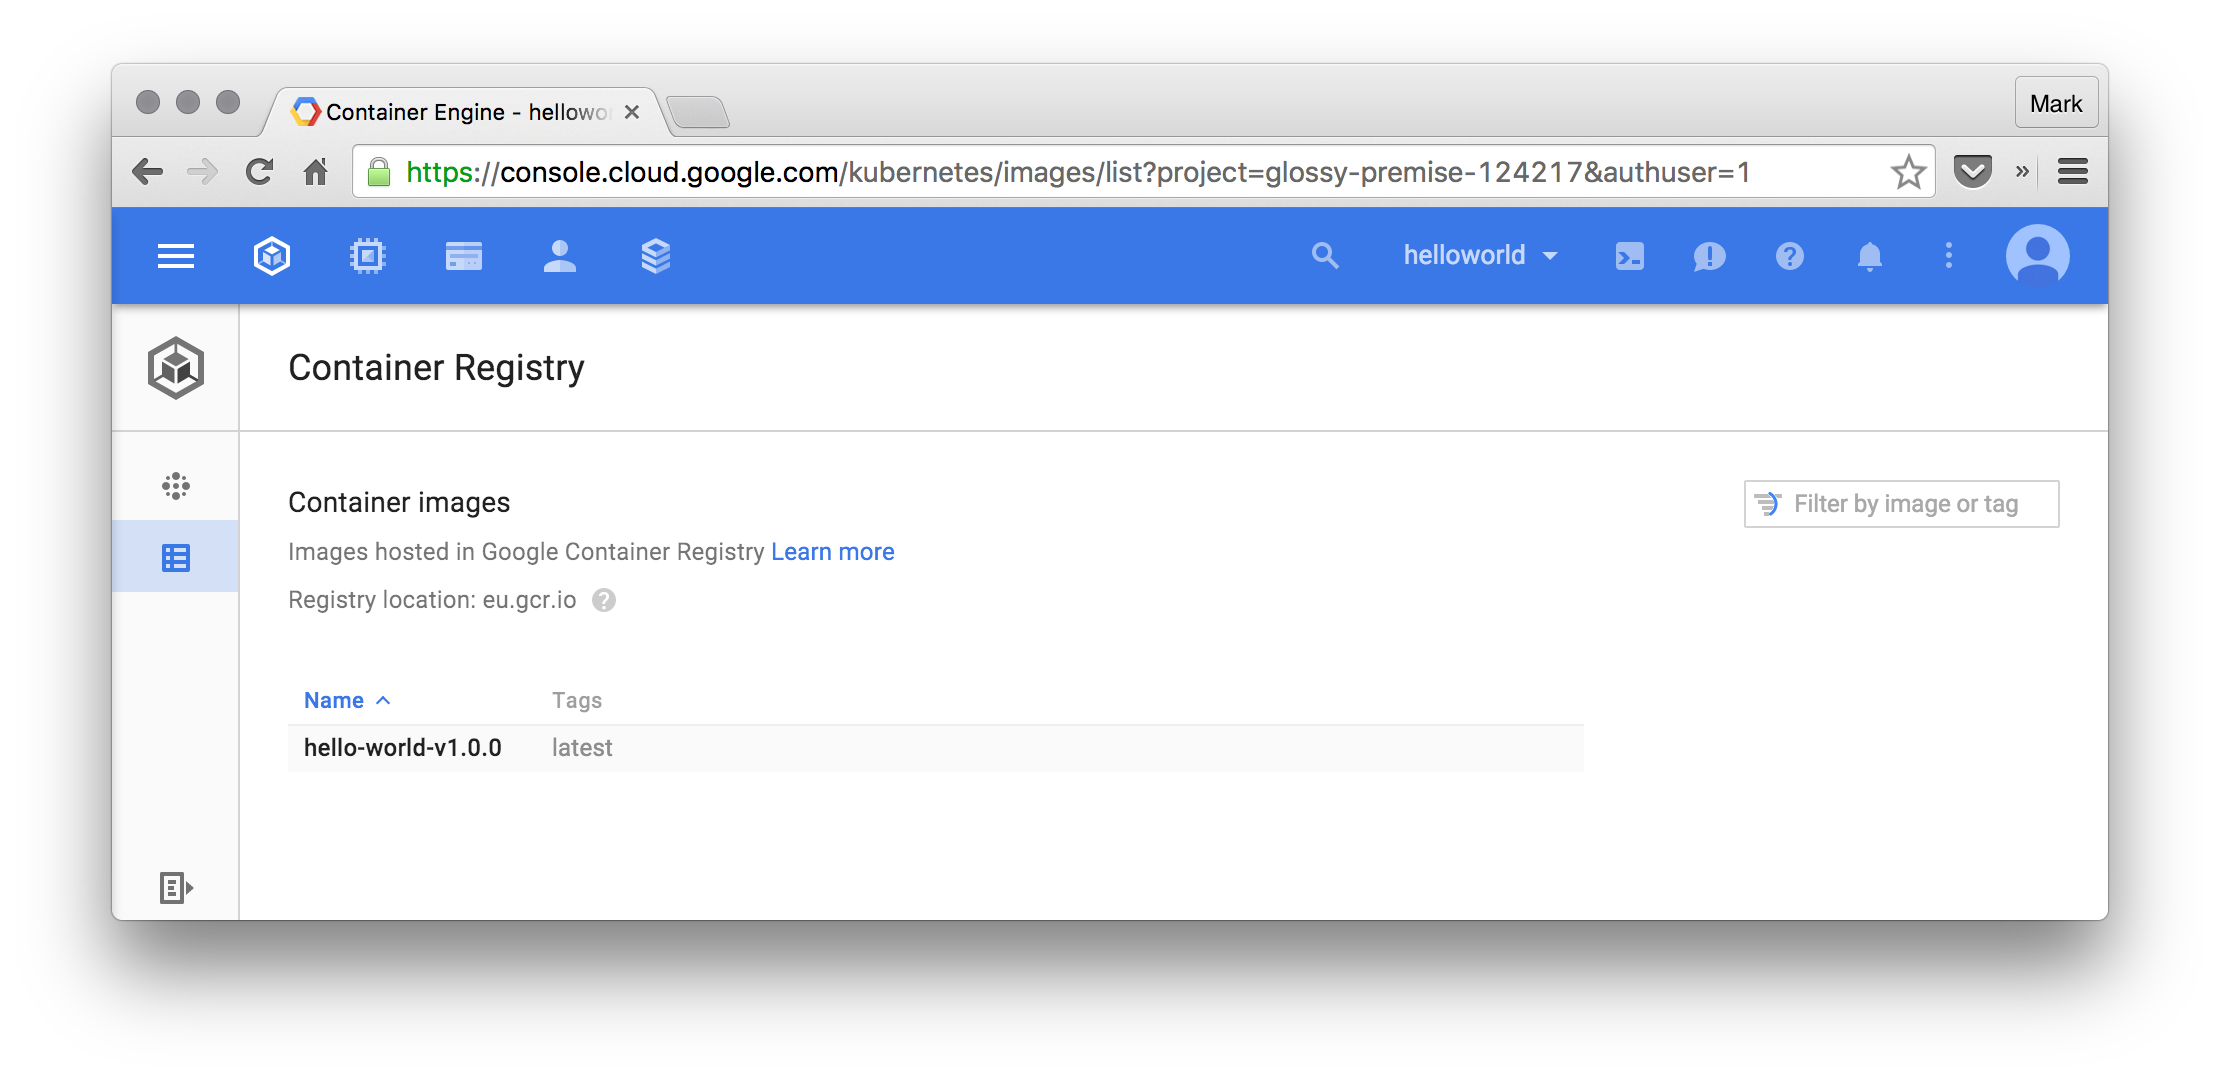
Visually you can view all your docker images by navigating to the Container Registry as follows:
Running our Application
So far we have created a Kubernetes cluster and pushed our application to the private Container Registry present on this cluster. Before we continue I would recommend reading the Container Engine documentation since this will give you a better understand of the commands we are going to use. For the impatient ones, you can simply type in the commands and return to the documentation later on.
Running our application is easy - just run the following command in your terminal window:
kubectl run hello-world --image eu.gcr.io/glossy-premise-124217/hello-world-v1.0.0
To expose the service to the world we can run the following command:
kubectl expose rc hello-world --port=80 --target-port=8080 --name=hello-world-service --type=LoadBalancer
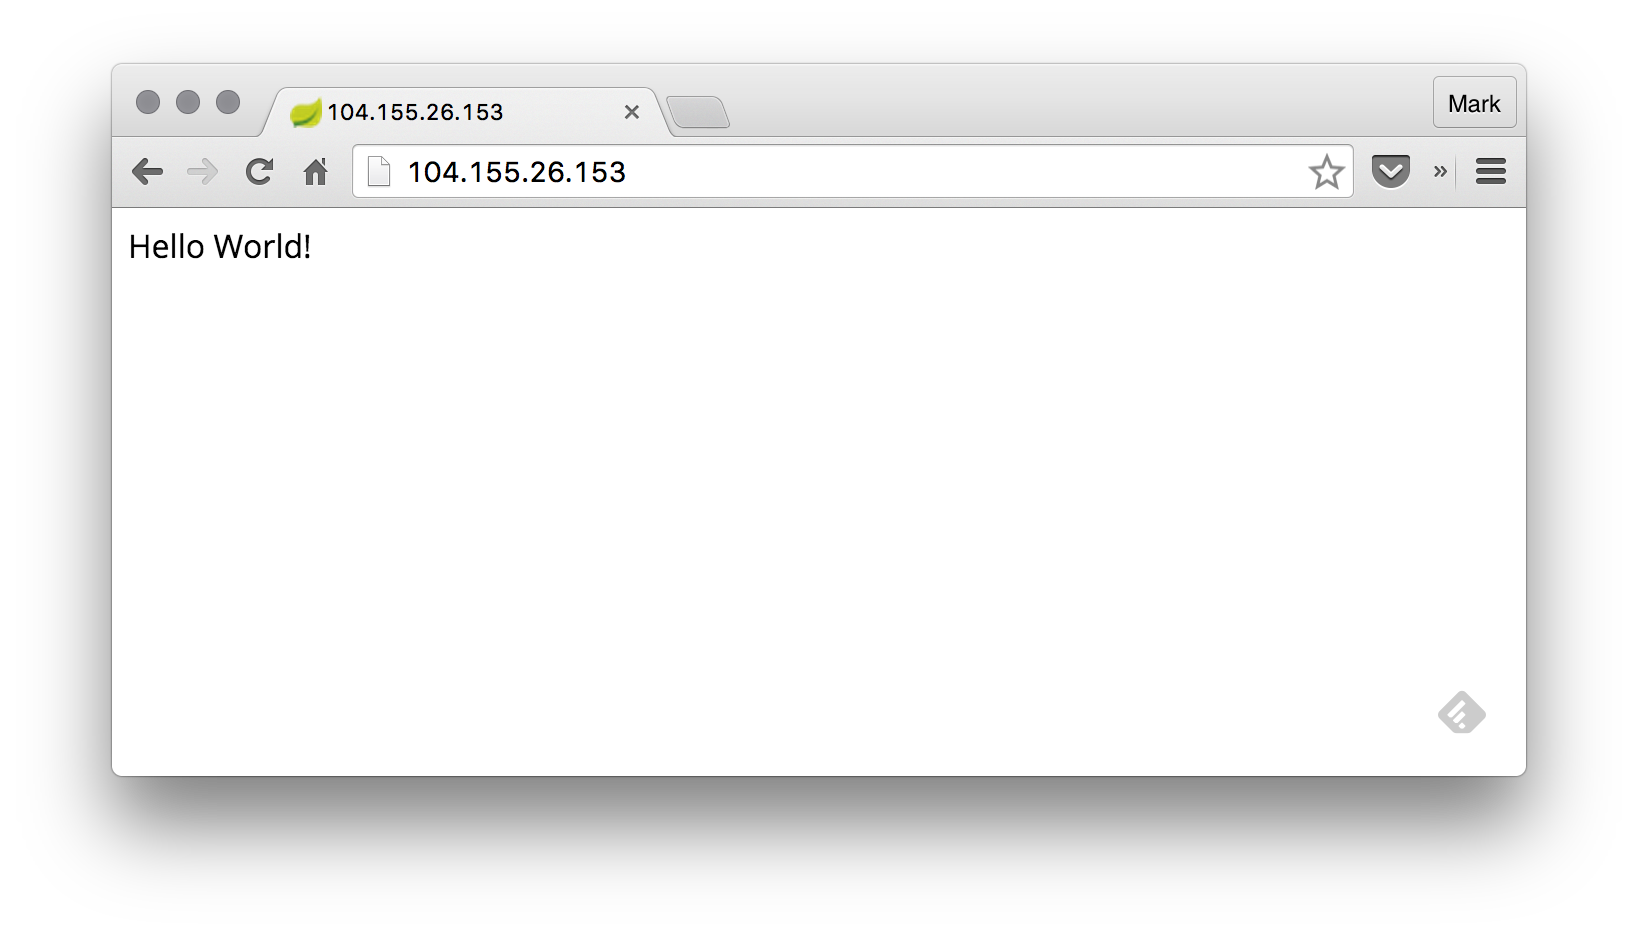
This will expose the container port 8080 through a Load Balancer on port 80. Kubernetes is smart enough to assign a ephemeral IP, create the necessary firewall rules and route all traffic from the load balancer to the docker container running the hello-world service. To retrieve the IP that the service is running on run the following command:
kubectl get services
In this case we got assigned the ephemeral IP 104.155.26.153. Let’s see our deployed live application in action!
Updating our application
Let us now update our application to display “Hello Universe!” instead of “Hello World!” by updating the file HelloworldApplication.java as follows:
package com.cloudmark;

...

@Controller
@EnableAutoConfiguration
public class HelloworldApplication {

    @RequestMapping("/")
    @ResponseBody
    String home() {
        return "Hello Universe!";
    }

    public static void main(String[] args) throws Exception {
        SpringApplication.run(HelloworldApplication.class, args);
    }
}
What we need to do now is to run the following commands:
-
Build our application.
mvn clean install -
Docker-ise our application using Docker and the pre-configured
Dockerfile.docker build -t eu.gcr.io/glossy-premise-124217/hello-world-v2.0.0 . -
Push our image to the private repository.
gcloud docker push eu.gcr.io/glossy-premise-124217/hello-world-v2.0.0If we head back to the Container Registry we will now be able to see our two containers. The
hello-world-v1.0.0which is currently running and thehello-world-v2.0.0representing our next major application release.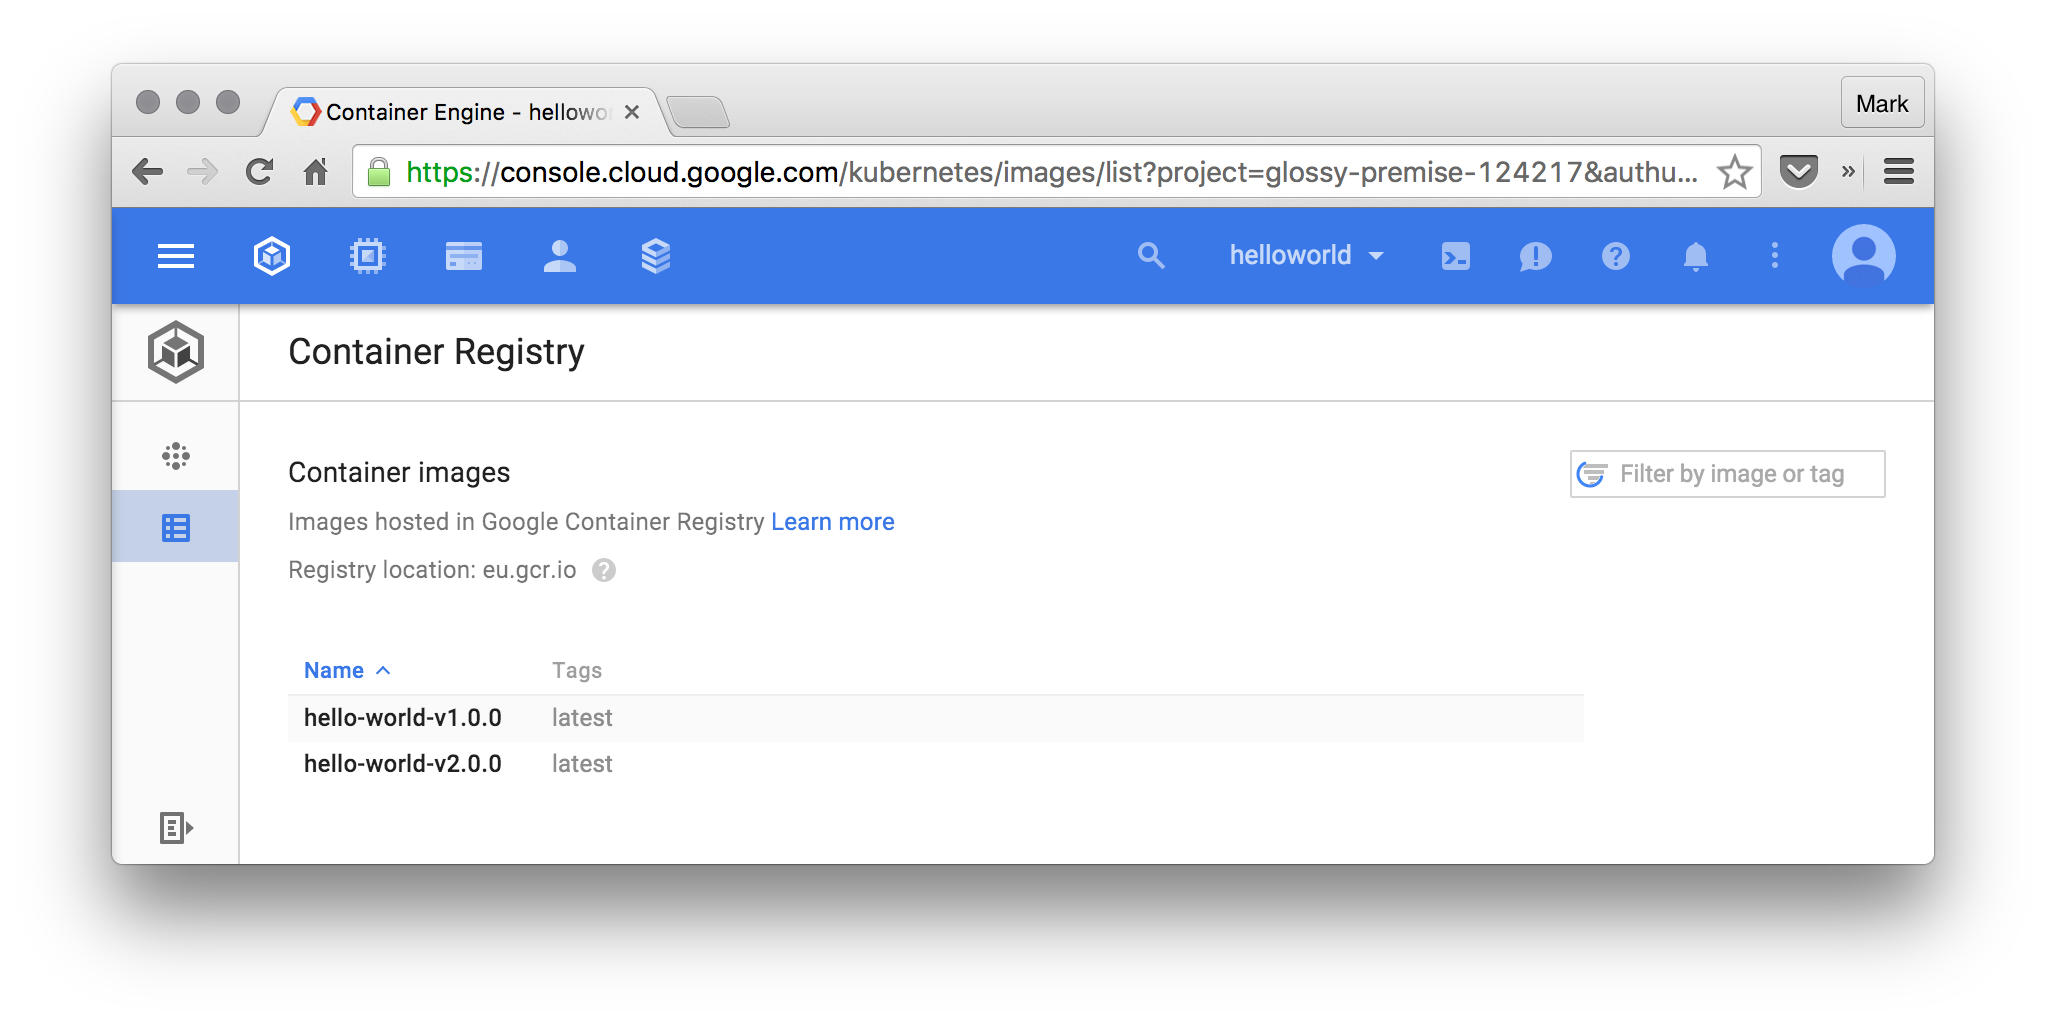
-
In order to update our live application we can use the
rolling-updatecommand:kubectl rolling-update hello-world --image eu.gcr.io/glossy-premise-124217/hello-world-v2.0.0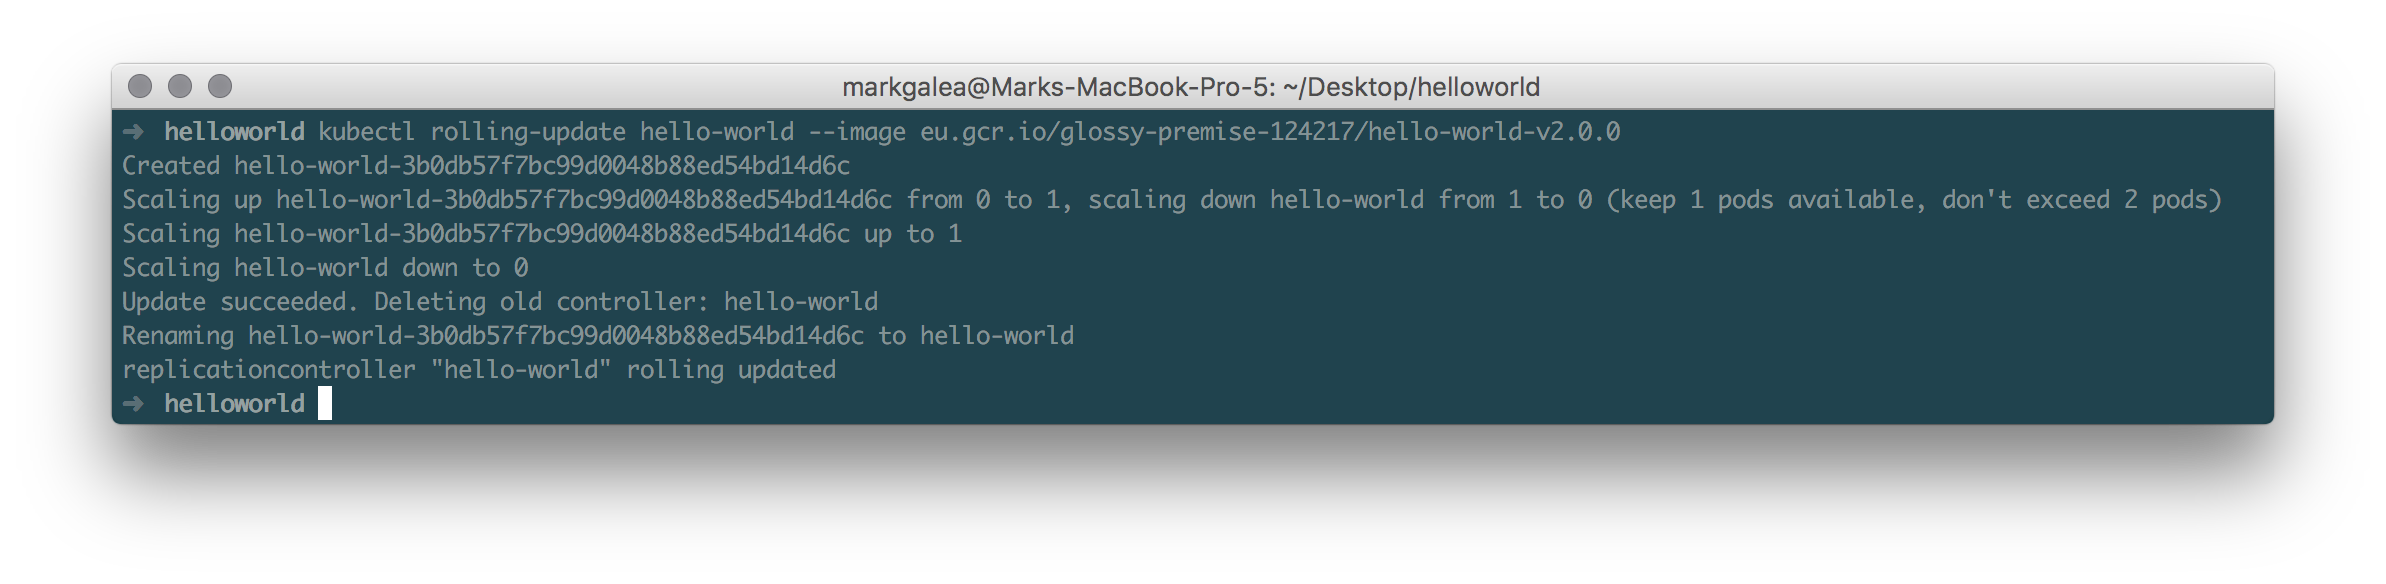
This command will automatically spin up the new application and route traffic from the load balancer to the updated containers. There are other options which we can use with the
rolling-updatecommand. For more information visit this page over here. If we refresh our browser we can see that our application has indeed been updated.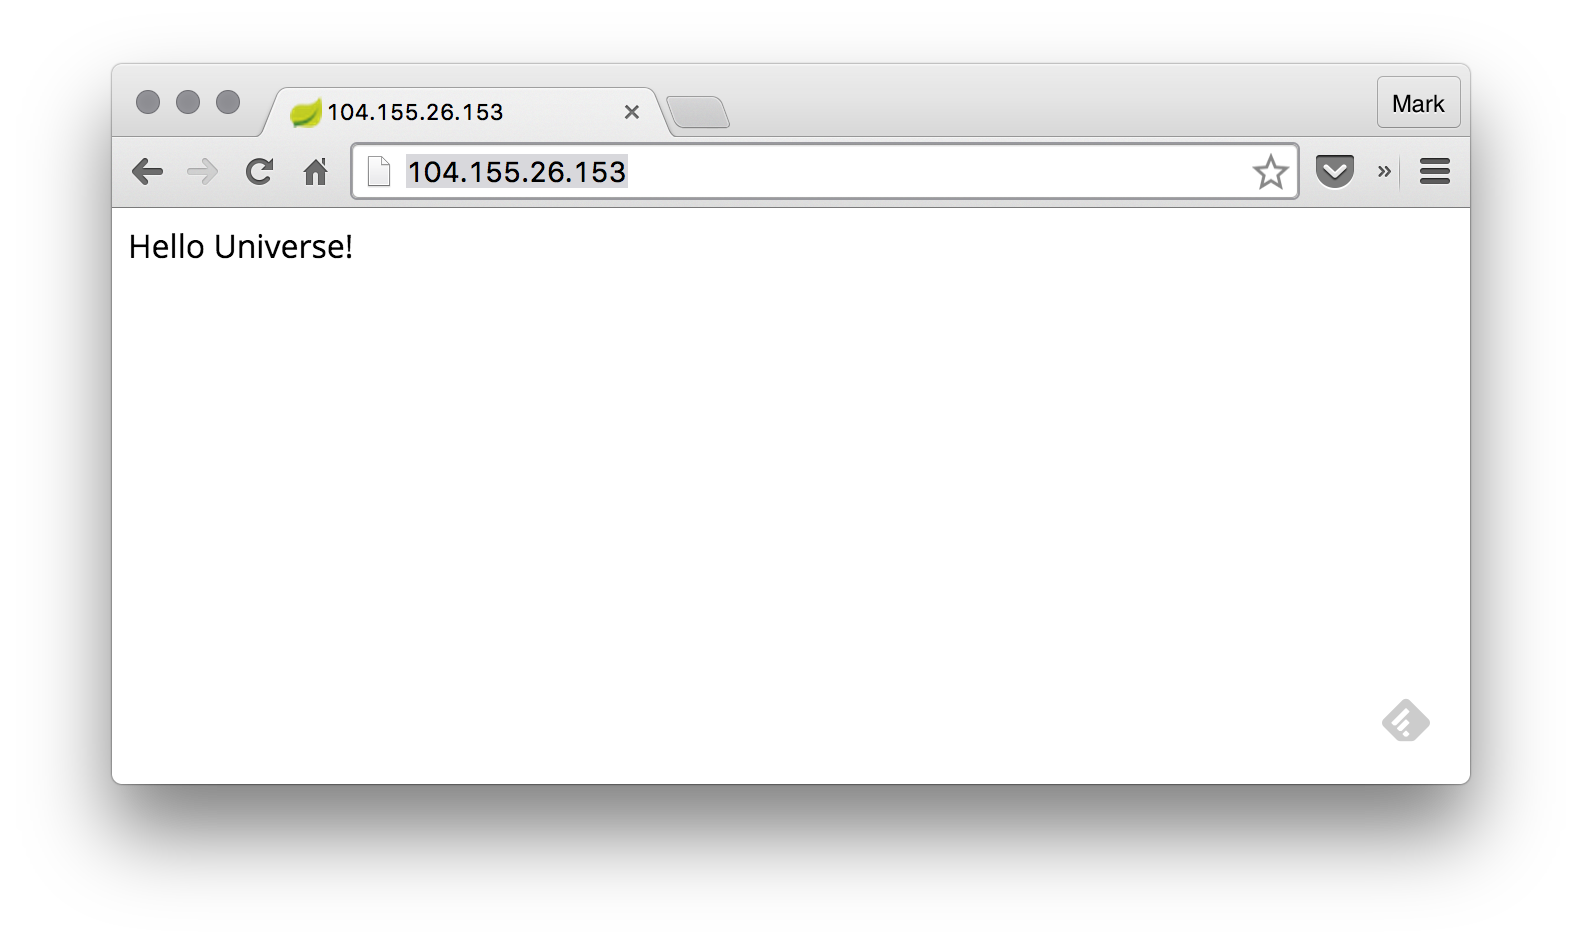
Conclusion
Before concluding it is important to stress out that Kubernetes is but one way how we can orchestrate Docker containers. There are other tools out there e.g. Rancher which can achieve the same outcome. Similarly Docker is only but one container specification - others like rkt (rocket) can achieve similar results.
The take-home message from this post should be the concept of containerising your deployment - we create an application, containerise it to isolate the inconsistencies and deploy it on a cluster / machine which understands the container specification. If you haven’t started using this workflow I urge you to invest some time and give it a spin; I’m pretty sure you will not regret it. Stay safe and keep hacking!